Dry Rot Repair Cost: What Pushes You From a $500 Patch to a $15,000 Rebuild
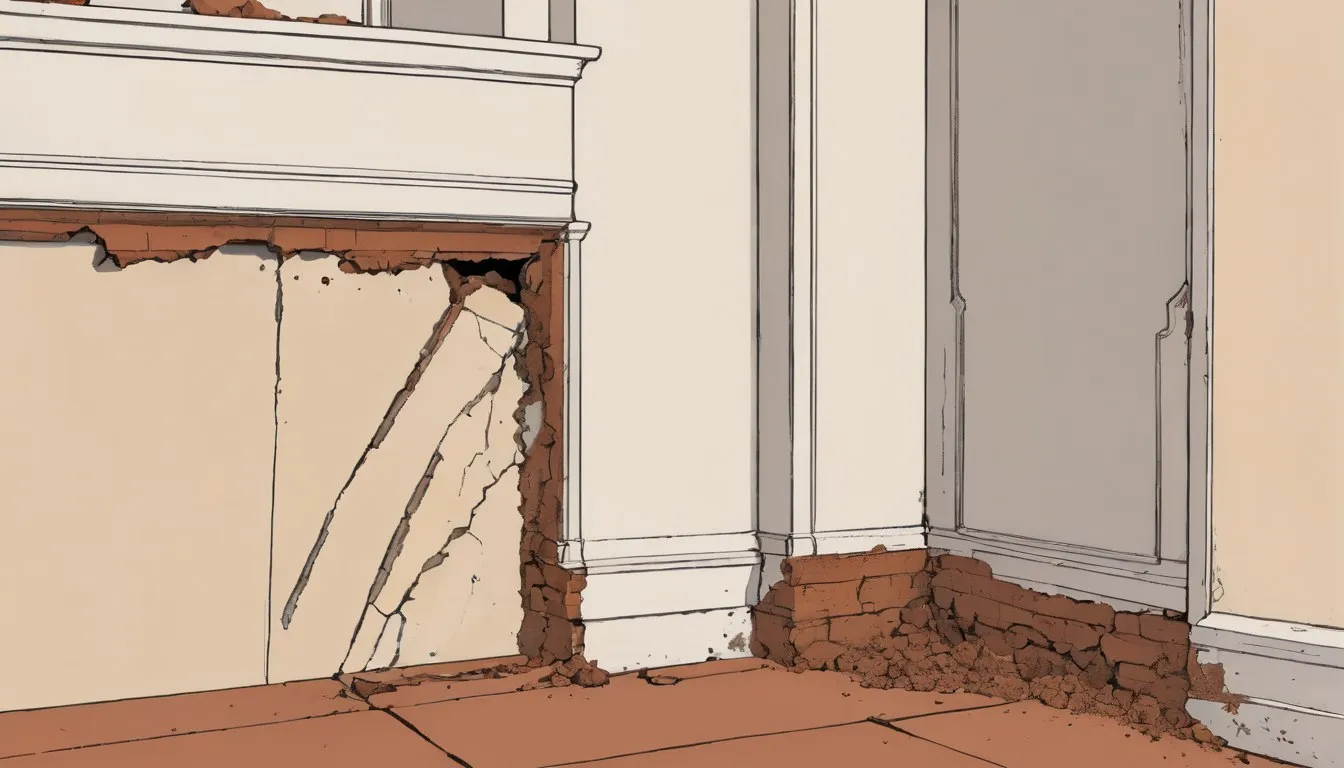
You press your thumb into the windowsill and it just gives, soft and a little spongy, like the wood’s gone stale. That’s usually the moment the budgeting panic sets in. Is this a $400 afternoon fix, or is someone about to tell you your sill plate needs to come out?
Here’s the honest range, before anyone’s even looked at your house: a small, caught-early cosmetic patch, a windowsill, a fascia board, a deck post, runs somewhere around $400 to $1,500. Real structural work, the kind involving a sill plate, a floor joist, or load-bearing framing, lands anywhere from $5,000 to $20,000 or more. That’s a wide gap, and it’s fair to feel a little lost in the middle of it. Which end you land on comes down to four things you can spot yourself before a contractor even shows up.
A windowsill and a sill plate are both technically “wood rot,” but the repairs can land nearly $20,000 apart, and the same handful of details you can check yourself today are what tips a job from one bucket into the other.
What actually moves the price up or down?
Four things do most of the work in any quote you get.
- How much wood is affected. Contractors often price by square footage of affected framing once a job gets structural, and the difference between a two-foot section of sill plate and a twelve-foot run is not small. Cosmetic trim repairs are usually priced per piece or per linear foot instead.
- Where it is in the house. A rotted fascia board at ground level is a ladder and an hour. The same rot on a fascia board over a steep roofline, or tucked behind a bathroom wall where a slow leak has been feeding it for years, means scaffolding, demolition, or both before a single piece of new wood goes in.
- How hard it is to access. This is the quiet cost multiplier nobody thinks about upfront. Rot inside a wall cavity means opening drywall or siding just to see what you’re dealing with, then closing it back up afterward. Rot under a house means crawling.
- Cosmetic trim versus load-bearing wood. This is the big one. A rotted porch railing is annoying but structurally irrelevant. A rotted sill plate or band joist is holding up a wall, so the fix adds temporary shoring, sometimes a permit, and sometimes an engineer on top of the carpentry.
Once you know where your damage falls on those four factors, the rest of this gets a lot less abstract.
How much does a small patch repair cost?
Caught early, dry rot is genuinely cheap to deal with. A soft spot on a windowsill, a rotted section of fascia, the bottom foot of a deck post: these are the jobs that run $400 to $1,500, and most land in the $500 to $1,100 range.
What you’re paying for at that price point is straightforward: the contractor cuts out the compromised wood, treats the exposed area, rebuilds the missing section with an epoxy wood filler or consolidates it with a wood hardener, sands it smooth, and repaints or reseals to match. If they’re doing a full board swap rather than a patch, add the cost of the new lumber, which is minor unless it’s a specialty profile trim piece that has to be custom-milled.
Access is what pushes a small job to the top of that range. A repair at ground level and the same repair thirty feet up over a steep roofline can use identical materials and still land $400 apart, purely on how hard the crew has to work to reach it. That’s why two windowsill quotes from two different companies can be $200 apart even with identical materials: one crew is standing on a step stool, the other’s renting a lift for the afternoon. A deck post that’s rotted at the base sometimes means temporarily supporting the deck while the post gets replaced, which is more work than the post alone suggests. And if the paint or stain has to match an older, weathered finish exactly, that’s another line item.
If you’re trying to figure out whether your own damage is likely to fall in this bucket, a moisture meter reading is the cheapest diagnostic step you can take. A reading concentrated in one small, surface-level spot, with dry wood just an inch or two away, means the damage is still shallow enough for a simple patch, the kind that stays in that $400 to $1,500 range.
When does dry rot repair turn into a structural job?
If a sill plate, a band joist, or a wall stud turns out to be involved, the number jumps hard on you, because now the job pulls in an engineer’s sign-off, temporary shoring, and often a permit before a single new board goes in.
Before anyone touches a rotted sill plate or joist, you’ll usually need a structural engineer out. They confirm what’s actually load-bearing and what the replacement has to look like.
It’s an extra step and an extra fee right when you’re already dreading the bill. But it’s required once a wall’s weight is involved, and that inspection fee alone commonly runs $300 to $700, sometimes more depending on your area and the complexity of the framing.
Then comes the actual work. The part of your house sitting on that rotted member has to be temporarily supported with jacks or shoring while the old wood comes out, and yes, that’s skilled labor too. Nobody’s doing this one on a Saturday.
Many jurisdictions also require a permit for structural repairs, which adds fees and inspection time on top.
Then you’re into the rebuild itself: new pressure-treated lumber sized and rated to match your original framing, fastened and flashed the way it should be, plus whatever it takes to close everything back up, drywall, insulation, siding, trim. If you’re staring down a full sill plate replacement along one side of your house, or a section of subfloor and joists after a long-term leak, budget realistically for $5,000 to $20,000, depending on the linear footage involved and how much of your house has to come apart to get to it. That’s a hard number to hear, but it’s the honest one.
Shoring alone typically runs a few hundred dollars in equipment rental and labor. A permit for structural work adds another $500 to $2,000 depending on your city, and the engineer’s sign-off is usually folded into that inspection fee rather than billed as a separate line. None of it is optional once a wall’s weight rides on the wood being replaced.
If you’re not sure which category you’re in, this is exactly the kind of thing worth getting a professional opinion on before you spend a dime guessing which one you’re dealing with. Our complete guide to dry rot repair walks through how to tell early-stage damage from the kind that’s already compromised structural wood, and if you’re at the point of comparing quotes, our guide to dry rot repair contractors covers what a fair quote should actually itemize.
Does homeowners insurance cover any of this?
Almost always, no. Dry rot is classified by most insurers as a maintenance issue, gradual deterioration a homeowner is expected to catch and prevent through routine upkeep and regular maintenance. Policies are written to exclude wear-and-tear and long-term neglect for a reason: if they covered every roof that eventually leaks or every sill that eventually rots, the math wouldn’t work.
There’s one exception worth knowing. If the moisture that caused the rot came from a covered peril, a burst pipe, a sudden appliance failure, storm damage that let water in, your policy may cover the damage caused by that specific event, including the rot that resulted from it, as long as you can show it developed quickly after that incident rather than over years of slow, unaddressed moisture. Insurers typically want the timeline documented: a plumber’s invoice, a claims adjuster’s report, anything dated close to when the leak happened, before they’ll pay out on the wood damage tied to it.
Practically, this means most people are paying for dry rot repair out of pocket. It’s worth a call to your insurer before you assume either way, but budget as if you’re covering it yourself.
Is it cheaper to DIY dry rot repair or hire a pro?
Purely on materials, doing a small patch yourself is dramatically cheaper. A basic wood hardener and epoxy filler kit costs far less than a contractor visit, and a single kit is usually enough for several small repairs, a windowsill, a bit of trim, a porch rail. Compare that to professional labor on the same small job, typically $300 to $800 once you’re paying for a contractor’s time, travel, and markup on materials, and the gap is obvious.
That price gap is real, and for a genuinely small, accessible, cosmetic repair, it’s a big part of why so many people reach for a kit and a Saturday afternoon instead of calling anyone. A kit has real limits: it fixes what you can see and reach with hand tools, it can’t diagnose whether the rot goes deeper than it looks, and it isn’t rated for anything load-bearing. If you’re weighing which product actually makes sense for your situation, our guide to wood rot repair products breaks down how epoxy, hardener, and filler kits differ and what each one is actually built to do.
Once you’re talking about a wall cavity, a sill plate, or anything a permit might apply to, it’s time to call a professional. A repair that fails on load-bearing wood costs far more to fix than any gap between a kit’s price and a contractor’s quote.
What hidden costs do people forget to budget for?
Your final invoice usually includes three things the original quote didn’t: fixing the moisture source, opening up extra wall or siding to check how far the rot spread, and repainting or residing to match. Here’s what each one tends to run:
- Fixing the moisture source. Dry rot doesn’t happen without water, and repairing the wood without fixing whatever’s feeding it just buys you a repeat repair in a few years. Regrading soil away from a foundation, replacing failed flashing, fixing a gutter that’s been overflowing onto a fascia board, or a plumbing repair behind a wall can add anywhere from $200 to $2,000 or more, depending on what’s actually wrong.
- Opening up walls or siding to check for spread. Because fungal decay can travel through wood that looks fine on the surface, a contractor doing structural work will often want to open up an extra section of drywall or siding just to confirm the damage stops where it appears to. That’s additional demolition and patching cost that isn’t obvious from the initial estimate.
- Repainting or residing afterward. New wood needs to be primed and finished, and matching decades-old paint or weathered siding exactly is sometimes impossible, which means a bigger section, or the whole wall, gets repainted or resided to avoid an obvious patch. On a visible elevation of the house, this can end up costing more than the rot repair itself.
These add-ons are what separates a repair that lasts from one that fails again in three years, but they do mean your final invoice is often meaningfully higher than the number you were quoted for “just the rot.”
Is it ever cheaper to just wait?
No, and the math on this is pretty consistent. Dry rot is active fungal decay: it keeps consuming wood as long as moisture feeds it, and the longer it sits, the more likely it is to reach something structural. A $500 windowsill repair, ignored, doesn’t stay a $500 problem. Left unaddressed while the moisture source keeps feeding it, that same soft spot can spread into the surrounding framing, and a few years later you’re replacing the whole sill, along with whatever it damaged on the way.
The early, small repairs stay small precisely because they’re caught before the fungus reaches anything load-bearing. Every year of delay is another year the decay has to travel, and travel is exactly what dry rot does well. If you want to understand how quickly and how far it can actually move through a structure, our guide, “Does Dry Rot Spread?”, covers that in more detail, and it’s worth a read before you decide a soft spot can wait until next spring.
If you’re standing in front of your own damp windowsill right now trying to guess which bucket you’re in, run through it plainly: how big is the soft area, is it in an easy-to-reach spot or buried behind a wall, and does it touch anything holding weight. Answer those three honestly and you’ll walk into that first contractor call already knowing roughly what range to expect. That’s the goal here: a realistic range in your head, a couple of sharp questions ready, and a lot less panic than you started with. If you only do one thing before that call, get a moisture meter reading first. It’s the cheapest few minutes you’ll spend on this, and it tells you more than guessing ever will.