Dry Rot Repair: A First-Timer’s Honest Walkthrough
I found it on a Saturday, doing something completely unrelated to rot: touching up paint on the window trim outside my kitchen. I leaned the ladder against the sill, pressed my thumb into the wood to steady myself, and it just gave, soft like styrofoam under my thumb. I went and got a flathead screwdriver from the junk drawer and pushed the tip into the wood, gently, the way you’d test a cake. It sank in almost an inch with no resistance at all, and when I pulled it back out, a little cube of wood crumbled off in my hand, dry and light as a cracker.
That’s usually the moment. You’re standing there with a chunk of your house in your palm, wondering how bad this is and whether you just signed up for a very expensive weekend. I’ve been there. So before anything else, let’s figure out what you’re actually looking at.
Okay, so is this actually dry rot?
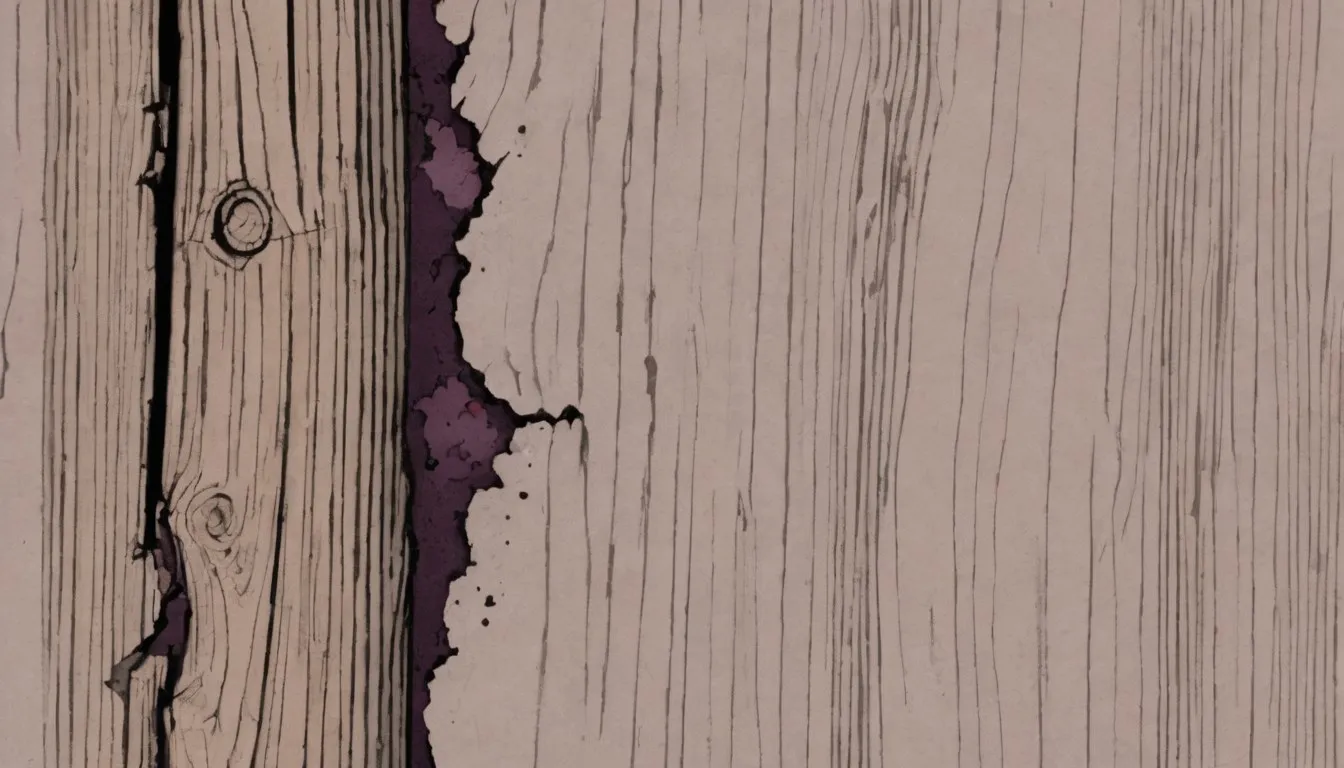
Press a screwdriver, an awl, or even a stiff key into the suspect wood. Real rot gives way with almost no pressure, and it splits along the grain into small, roughly square chunks, like a chocolate bar snapped into blocks. That’s called cuboidal cracking, and it’s one of the most reliable visual signs you can check for yourself, no tools or expertise required. Look closely at a cross-section and the wood looks like it’s been divided into tiny bricks, sometimes with a slightly sunken or shrunken surface.
Here’s the part that trips people up: despite the name, dry rot wood really is dry to the touch, bone dry, light, and crumbly, more like stale bread than a damp sponge. It’s often a dull brown color, sometimes with a faint bleached or grayish look where the fungus has been feeding. Squeeze a piece between your fingers and it turns to powder.
Then there’s the smell. A lot of people describe it as musty, like a damp basement or old mushrooms, sometimes with an earthy sweetness underneath. If you can get into a crawlspace or basement near the affected area, take a slow breath before you turn on any fans or start moving things around.
Look for the fungus itself, too. Active dry rot often shows white, cottony strands spreading across the wood or nearby masonry, almost like spiderwebs or cotton wool. These are called mycelium, and they’re how the fungus moves and feeds. In more advanced cases you might see a flat, pancake-shaped growth with a rust-colored, almost cinnamon dusting around the edges. That’s the fruiting body, and the rusty dust is spores. If you’re seeing a fruiting body, the infestation has been established for a while.
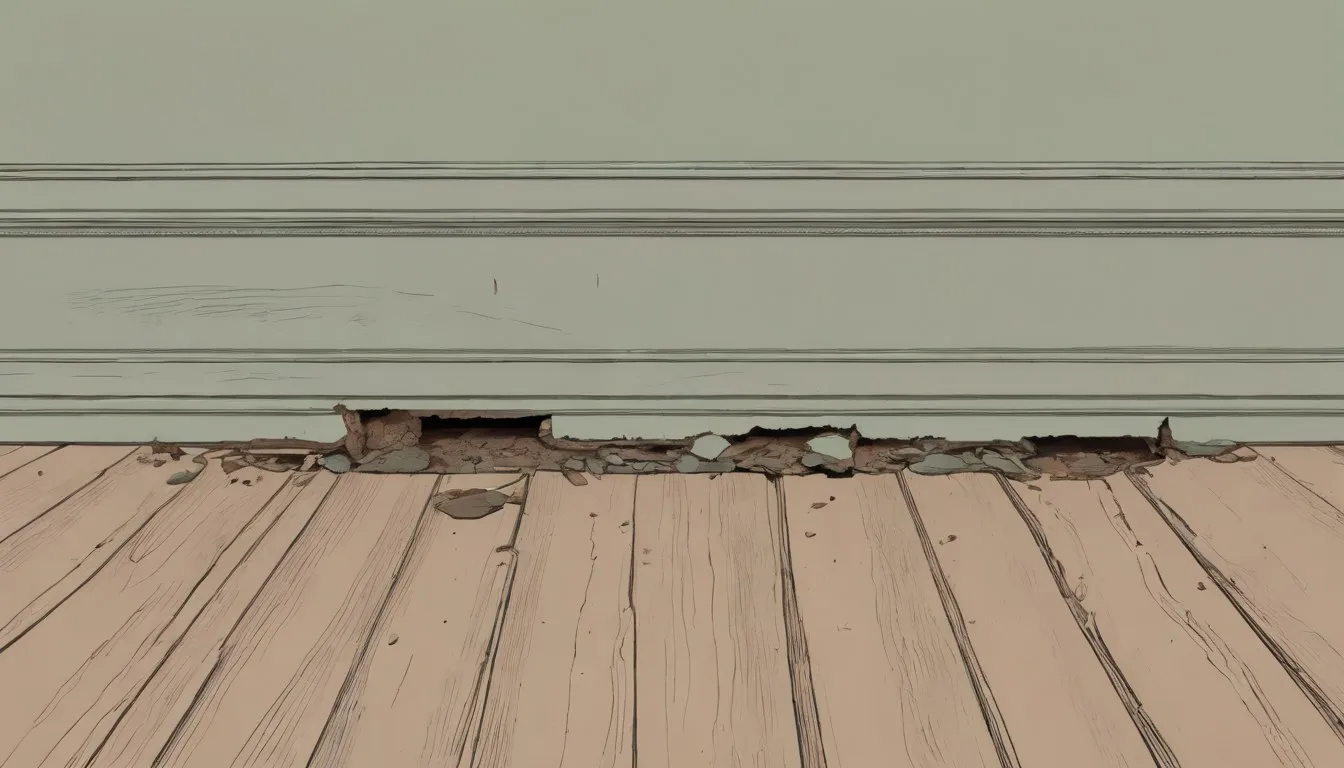
Check the surrounding area too, not just the one soft spot. Dry rot rarely stays put once conditions are right, so run your screwdriver test along nearby trim, sills, joists, or skirting boards before you assume you’ve found the whole problem.
What is dry rot, really?
Underneath all of it is a specific fungus, Serpula lacrymans, and it’s an unusually stubborn organism. Most wood-decay fungi need consistently damp timber to survive and pretty much stop the moment things dry out. Serpula lacrymans doesn’t play by that rule. It needs moisture to get started, usually a leak, condensation, or some other source of damp wood, but once it’s established, it doesn’t need the timber itself to stay wet the way other decay fungi do. It’s capable of sending root-like strands through brick, mortar, and plaster to reach new sources of timber, even wood that’s nowhere near visibly wet, as long as the network stays connected to a moisture source somewhere along the way.
That’s the detail that unsettles people, and fairly. It means the fungus can travel behind a wall, through masonry, and pop up in a completely different room from where the original leak was. It’s also why dry rot has this reputation as the more serious cousin of ordinary wood decay: it’s more mobile, harder to fully starve out, and more likely to keep spreading quietly after you think you’ve dealt with it.
That mobility is why a real fix means tracing every strand the fungus has sent through the wall, then treating the masonry it traveled through, not just cutting out the board sitting in front of you. The full biology, how the fungus actually feeds, what conditions let it establish, why it behaves so differently from other decay fungi, lives in the fuller answer to what is dry rot, more depth than we need here. For now, the short version is enough to make good decisions: it’s a fungus, it needs damp wood to start, and it can outgrow that original wet spot if you let it.
How is this different from wet rot or mold?
This matters because the fix is different for each one, and guessing wrong wastes money.
- Wet rot stays where the moisture is. The wood feels damp and soft rather than dry and crumbly, it often darkens rather than staying dull brown, and it doesn’t send strands traveling through masonry looking for new timber. Fix the leak and wet rot generally stops in its tracks.
- Mold is a surface issue. It’s a coating, fuzzy or powdery, black, green, or white, sitting on top of a surface rather than eating through the structure of the wood underneath. Wood affected by mold alone usually still feels solid when you press on it.
- Dry rot is dry, crumbly, cuboidal, and willing to spread beyond the wet spot that started it.
Misdiagnosing this is more common than you’d think, especially in bathrooms and basements where the air stays a little damp no matter what. People sometimes spend a season treating what they assume is wet rot, chasing a slow leak, only to find fungal strands turning up in a stud bay three feet away that never got directly wet. If the wood itself is dry and crumbly rather than damp and soft, treat it as dry rot until you’ve confirmed otherwise with the tests above. The extra caution just costs you an afternoon spent running the screwdriver test along the studs on either side of that first soft spot, cheaper than reopening the same wall next year because you guessed wrong.
The screwdriver test and the smell test go a long way toward sorting these out. For the fuller side-by-side, with photos of what each one looks like at different stages, see the dry rot vs. wet rot comparison, or the dry rot vs. mold comparison if that’s the mix-up you’re worried about.
Does dry rot actually spread that fast?
Under the right conditions, yes, fast enough to notice within a matter of weeks. This fungus gets going once the wood’s moisture content climbs above roughly 20%, and give it a warm, stuffy, consistently damp spot and those white strands become visible within weeks. Measured growth rates for this fungus run around 0.5 to 1.0 meters a year, which is plenty fast to turn one soft floorboard into a compromised joist bay by the time you notice a smell or a soft spot somewhere else. Left alone in a chronically wet basement or an unventilated crawlspace, it can compromise a meaningful stretch of structural timber over the course of a year or two.
What slows it down almost completely is dryness. Drop the wood moisture content back down and keep it down, and the fungus can’t keep growing, even if some old strands are technically still present. Above roughly 20% moisture, Serpula lacrymans keeps feeding; get the wood below that and active growth stops, though the fungus doesn’t necessarily die right away. It can sit dormant in the wood for up to about a year, waiting for moisture to come back before it starts growing again. So the realistic move is booking the repair sometime this month, not letting the same leak drip for another six months while you read forum threads about it. Growth rates and timelines specific to your situation are in the does dry rot spread guide.
What order do you do this in?
This is the part I wish someone had laid out for me plainly before I started reading twelve different forum threads. The process, in the order it actually needs to happen, looks like this:
- Find and stop the moisture source. A leaking gutter, a cracked seal around a window, poor grading pushing water toward the foundation, a plumbing leak, condensation from poor ventilation. Nothing else on this list matters if this step doesn’t happen first.
- Remove the affected timber. Cut out wood that’s structurally compromised, and cut back further than the visible damage, since active rot often extends past what looks obviously affected.
- Treat the surrounding area. Any wood and masonry near the removed section gets treated to kill remaining fungal growth before anything new goes back in.
- Rebuild with the right materials. New timber, or a wood hardener and epoxy filler system for smaller areas, depending on how much is actually gone.
- Monitor afterward. Check the repaired area and the original moisture source periodically for the first year, since a recurrence almost always traces back to a leak that wasn’t fully solved.
That’s the whole map. Every other guide in this series is really just zooming into one of these five steps, whether that’s treatment, rebuilding materials, cost, or when to call in a professional. Having the full order in your head before you start means you won’t, say, buy an epoxy kit before you’ve found the leak, a common mistake that ends up costing you twice once you have to redo the repair properly.
Do you need to treat it before you repair it?
Yes, and skipping this step is probably the single most common DIY dry rot mistake. If you cut out the damaged wood and rebuild the area without treating what’s left, you’re covering up an active fungal problem that’s still feeding under the surface. Any leftover strands or spores in the surrounding wood and masonry can start feeding again the moment moisture returns, and now they’re doing it behind a fresh repair you just paid for.
Treatment typically means a fungicidal wash or spray applied to the timber and masonry surrounding the removed section, sometimes paired with irrigation of masonry that’s been penetrated by fungal strands. It’s not complicated, but it does need to happen in the right order and with enough coverage to actually reach where the fungus has traveled, not just the spot you can see. If you’re doing this yourself, read the how to treat dry rot walkthrough before you buy anything. It covers products, application, and how to know you’ve actually gotten it all, and this is the step where corners get cut most often.
What do you actually rebuild the wood with?
Once the area is clean and treated, you’ve got a few options depending on how much wood is actually missing.
For minor surface damage, a wood hardener, a thin, penetrating resin, gets brushed or dripped into the remaining sound wood to stiffen it back up and give a filler something solid to bond to. Think of it as the primer coat that comes before the real rebuilding starts with filler.
From there, you’re usually choosing between an epoxy consolidant and an epoxy filler, and people mix these up constantly. A consolidant is thinner and soaks into slightly punky, softened wood to firm it up from the inside. A filler is thicker, closer to a two-part putty, and it’s what you actually shape and sand to rebuild missing material, similar in spirit to auto body filler but formulated for wood and weather exposure. Most small repairs use both: consolidant first to stabilize what’s left, filler after to rebuild the shape.
Application matters more than most people expect going in. Hardener needs to go on wood that’s already dried out, since it won’t soak into anything still damp, and most products want two or three saturating coats with a short wait between each so the resin actually penetrates instead of sitting on the surface. Filler goes on after the hardener has cured, usually a day depending on temperature and humidity, and it gets applied slightly proud of the final surface since you’ll be sanding it down to match the profile of the surrounding wood. Skipping the cure time is a common shortcut, and it’s exactly what shows up later as a filler patch that shrinks, cracks, or lets go entirely.
There are also all-in-one kits aimed at homeowners that bundle a hardener and a filler together, which can be a reasonable starting point if you’re not ready to buy products separately. I’m not going to play favorites here since it really depends on the size of the repair and what’s available near you, and the wood rot repair products guide breaks down how each type works and when you’d reach for one over another.
Can you fix small rot without replacing the whole board?
Often, yes, and this is honestly good news if you’re staring at a two-inch soft spot on a windowsill and dreading a full carpentry project. Minor surface rot on trim, sills, and other cosmetic wood can frequently be dug out, consolidated, filled, sanded, and painted, and it’ll hold up fine for years if the moisture problem behind it actually got solved.
Where that stops working is anything load-bearing. Structural timber, floor joists, rim joists, load-bearing posts, roof framing, is a different category entirely. Filler is a cosmetic fix: it rebuilds shape and gives you a paintable surface again, nothing more. If the rot has eaten into wood that’s actually holding weight, the honest fix is replacing that section with new, properly treated lumber. This is the line worth knowing before you commit to a DIY approach: cosmetic wood, go ahead and consolidate and fill it yourself; structural timber, that’s a replacement job, and usually one worth having a professional at least assess first.
How much does this typically cost?
Ranges vary a lot by region and severity, but roughly:
- A small, cosmetic patch, a windowsill corner or a bit of trim, done DIY with consolidant and filler, might run you under $100 in materials.
- A professional repair of a similar small area typically lands in the low hundreds once labor’s included.
- Larger repairs involving actual timber replacement, a section of subfloor, joists, or framing, climb into the low thousands, and can go well beyond that if the rot turns out to have traveled further than expected once the wall or floor is opened up.
That last part is the real budget risk with dry rot specifically: because it can spread through masonry to timber you can’t see, a quote based on the visible damage sometimes grows once a contractor actually opens things up. It’s worth asking any contractor how they handle that scenario before work starts.
Insurance is worth checking before you assume it’ll help either way. Most standard homeowner’s policies treat fungal decay as a maintenance issue rather than a covered peril, on the reasoning that rot develops slowly over time and a well-maintained home shouldn’t get this bad. There are exceptions, a sudden pipe burst that led directly to fast-developing rot might fall under the water damage portion of a claim, but a slow, chronic leak usually won’t. Call your insurer and ask directly rather than assuming either way before you budget for the repair.
Line items and regional variation are in the dry rot repair cost guide, useful before you start calling anyone.
Should you DIY this or call someone?
My honest framework, after doing the small version of this myself: if it’s cosmetic, contained, and you can clearly see the full extent of the damage, go ahead and do it yourself. A windowsill, a piece of trim, a small patch on a fascia board, these are all reasonable weekend projects with a hardener, some epoxy filler, and basic tools.
Call a professional if you’re seeing structural timber affected, if the damage seems to extend behind a wall or into an area you can’t fully inspect, if you’ve found a fruiting body (which usually signals an established infestation), or if you’re just not confident you’ve found every affected spot. Dry rot’s ability to travel through masonry means a DIY fix based only on what’s visible can leave active fungus in a wall cavity, and that’s the kind of miss that turns a $200 problem into a $5,000 one two years later.
If you do go the professional route, get more than one opinion, and be wary of anyone pushing a full-house treatment plan based on a five-minute look at one soft spot. Questions to ask and red flags to watch for are in the vetting a dry rot repair contractor guide.
How do you keep it from coming back?
Prevention here is almost entirely about water management, and none of it is expensive or complicated.
- Keep gutters clear and downspouts directing water at least a few feet away from the foundation.
- Grade the soil around your house so it slopes away from the walls, not toward them.
- Make sure crawlspaces and attics have working ventilation, since trapped humidity is exactly what this fungus wants.
- Run a dehumidifier in any basement or crawlspace that consistently reads above 60% humidity, and vent bathroom and kitchen fans all the way outside rather than into an attic, where the moisture just relocates instead of leaving.
- Fix small leaks fast, a slow drip under a sink or around a window seal will soften the wood underneath it in a matter of months, even when you can’t see it happening.
- If you’ve had a repair done, check back on it a few times over the first year. A cheap moisture meter, pressed into the wood, takes the guesswork out of this. Readings should stay well under that 20% threshold where fungal growth becomes possible.
None of this needs to become a hobby. It’s more like checking smoke detector batteries, a few minutes, twice a year, that saves you a much worse problem down the line. A room-by-room version of this, particularly useful for older homes with a history of moisture issues, is in the dry rot prevention guide.
One realistic next step
Start with the water. Skip the shopping trip and the contractor call for now, unless you’re already looking at structural damage or a fruiting body, and go find where the moisture is actually coming from. Walk the perimeter of your house, check the gutters, look at where the soil slopes, peek in the crawlspace if you have one. Start at the gutters and the grading, since those two cause most of the leaks that lead to this in the first place. Nine times out of ten, that soft patch of trim traces back to a source you can find in twenty minutes with a flashlight.
Find that first. Everything else, the treatment, the filler, the decision about whether to call someone, gets a lot easier once you know exactly what you’re dealing with and where it’s coming from.