Dry Rot Treatment: What Kills the Fungus, Not Just the Wood You Can See
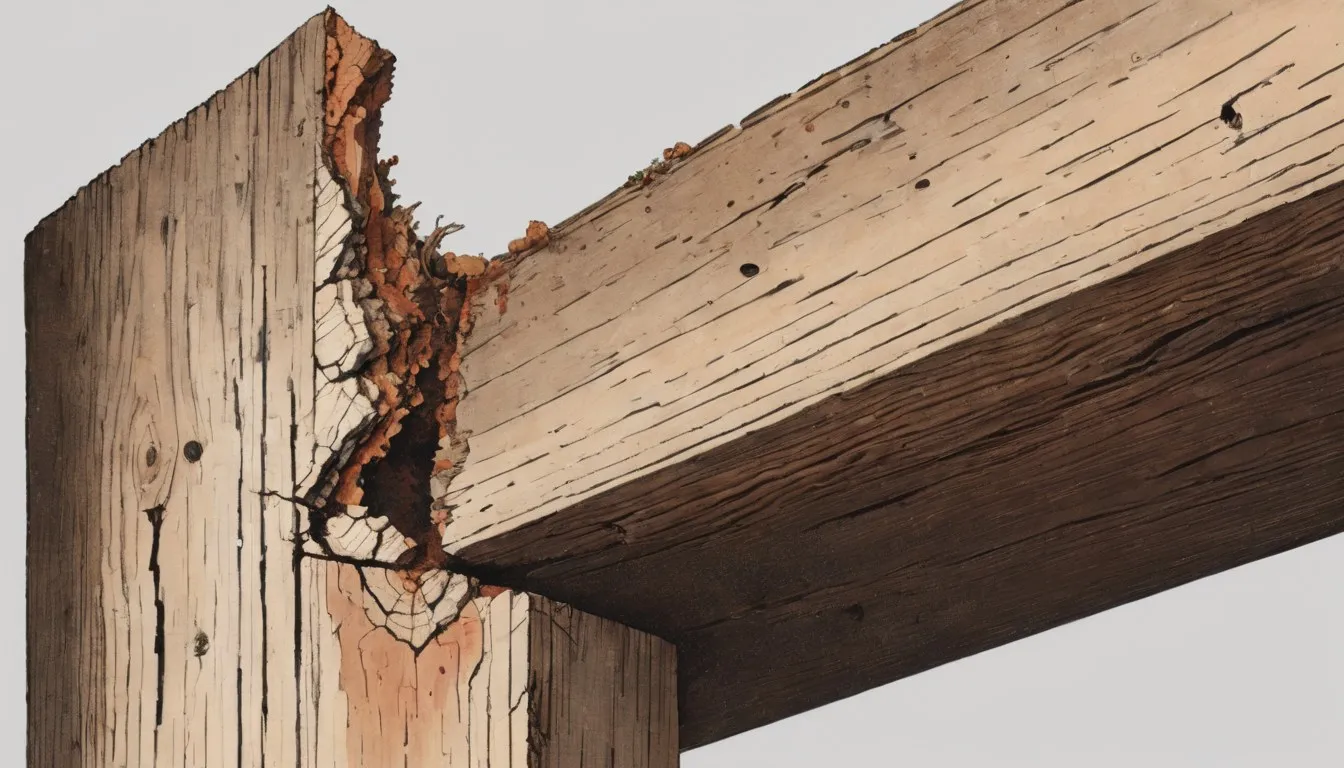
The surveyor’s report lands with one line that changes the whole afternoon: confirmed dry rot, Serpula lacrymans, active. You know what it is now. You know it’s bad. What you probably don’t have yet is a plan, and the gap between “diagnosed” and “fixed” is where a lot of homeowners either overspend on the wrong thing or underspend on a fix that quietly fails in eighteen months.
Dry rot treatment has two halves: drying the space out, and killing what’s already there. Skip either half and the rot comes back. It usually shows up behind whatever new timber you just paid to install. That’s the expensive kind of mistake, the one where you’ve already spent the money and still have the problem. Do these in the wrong order and you pay twice. If you haven’t nailed down that this is dry rot and not something else first, it’s worth working through what dry rot actually looks like before you commit to a treatment plan, since everything below assumes a confirmed diagnosis, not a guess.
So the wood’s confirmed as dry rot, now what?
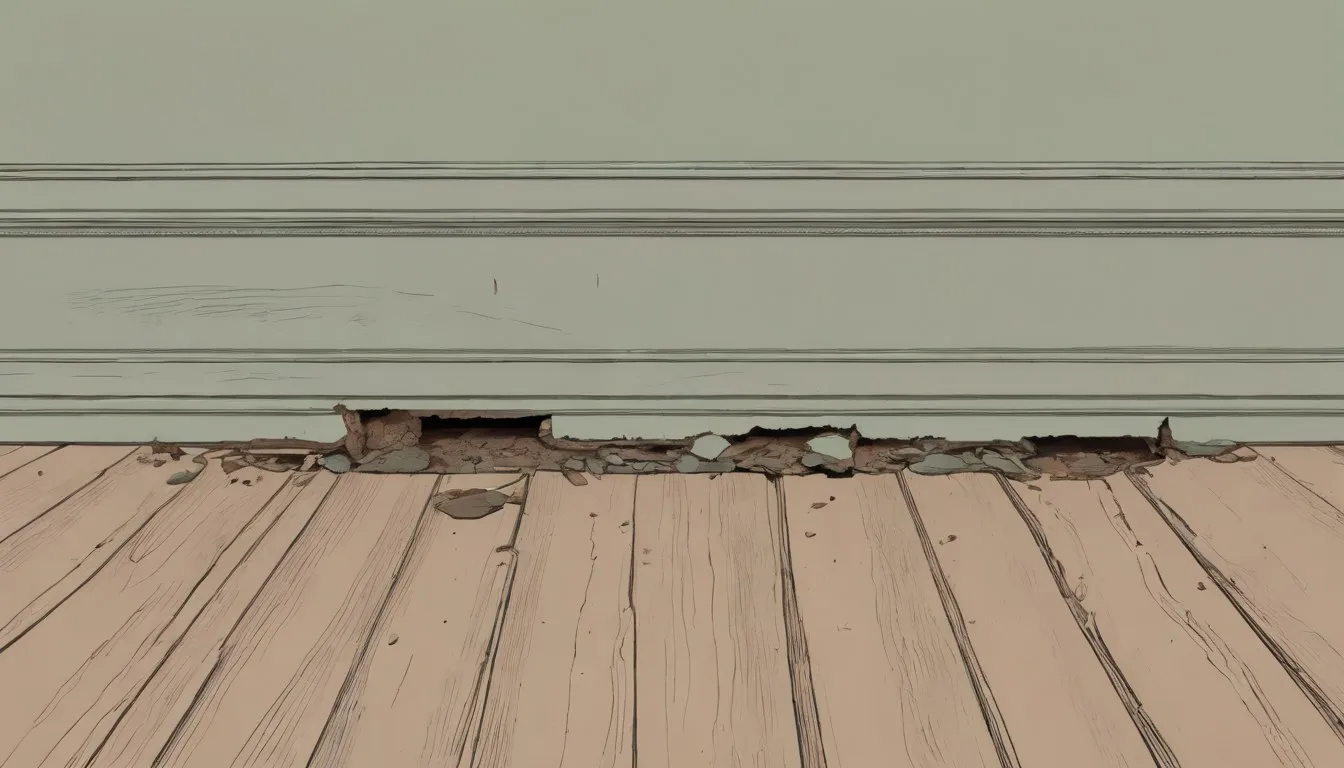
Before anyone touches a spray bottle or a fungicide tin, you need to know two things: where the moisture is coming from, and how far the fungus has actually traveled. Both usually require opening something up: pulling back a section of plaster, lifting a floorboard, or getting under a suspended floor with a torch. It’s the unglamorous, dusty part nobody puts in the brochure photos. It can feel like extra hassle when all you want is for someone to just fix it. But dry rot is famous for growing well past where it’s visible. It sends flat, root-like strands called mycelium through masonry and behind skirting boards, hunting for the next bit of damp timber.
That’s why the first job is mapping how far the outbreak actually reaches before anything gets treated. Everything that follows, drying, fungicide, cutting back timber, only works if it’s aimed at where the mycelium has actually spread. That’s usually well past the patch that first caught your eye. It’s a bit like a leak in a roof: the stain on the ceiling and the actual hole are rarely in the same spot.
Why drying the area out has to come before any chemical treatment
Serpula lacrymans is oddly fragile once you take away the one thing it needs: sustained moisture. Below roughly 20% wood moisture content, it can’t keep growing, and given enough time in a properly dry, ventilated space, it dies off on its own. That’s genuinely useful, because the single most important step in any dry rot treatment plan is fixing whatever let the wood get wet in the first place: a leaking gutter, a failed damp proof course, a blocked airbrick, condensation pooling under an insulated floor. Everything else, the fungicide, the cutting out, is downstream of that one fix.
Skip that step and everything after it is wasted effort. Fungicide applied to timber that’s still being fed by an active leak doesn’t penetrate properly, and even where it does, it’s fighting a losing battle against a moisture source that’s still topping the fungus back up.
Contractors will often bring in dehumidifiers and improve ventilation to a space before any chemical goes anywhere near the wood, sometimes running that drying-out phase for several weeks before the next stage starts. We know several weeks sounds unbearable when there’s a hole in the wall and a bill you haven’t seen the full size of yet, but that stage is doing real work even though nothing visibly changes day to day. It’s slower than people expect, and it’s also the reason a fast, one-visit “dry rot treatment” that skips straight to spraying should make you suspicious.
If moisture control feels like its own separate headache right now, it helps to look at what actually prevents dry rot from taking hold again once this outbreak is dealt with, since the fix for this outbreak and the fix that stops the next one are usually the same job.
What actually kills dry rot fungus in wood and masonry?
Once the area is drying out, the actual kill step usually comes down to two categories of product, applied in two different places.
Boron-based fungicides for the timber
Boron, or borate, fungicides are the standard for treating sound and lightly affected timber. They’re applied by brush, spray, or sometimes injected into drilled holes so the compound can move into the wood fibers rather than just sitting on the surface. Boron is toxic to the fungus at concentrations that are low-risk for people and pets once dry. That’s a big part of why it’s the default choice over harsher industrial biocides.
Masonry biocides for brick and mortar
Dry rot strands travel through masonry as well as wood, so if your contractor only treats the timber, the job’s half done. A masonry biocide, a sterilizing solution made for brick and mortar, needs to go onto the surrounding walls too, and it’s worth asking upfront whether that’s included in the quote. Sometimes that’s a straightforward brush-on. Other times the contractor drills small holes into the masonry and irrigates the solution in, so it reaches strands that have already spread into the joints. This is the step that gets skipped most often on a rushed job, because it’s invisible once the wall is replastered.
What doesn’t work, no matter how confident the label sounds, is a paint-on “dry rot killer” applied to the surface of already-decayed wood without anything else happening around it. Surface bleach and cosmetic sealants don’t reach the hyphae growing through the wood’s structure, or the strands running through nearby masonry. They can make a patch look treated for a season, then the rot carries on underneath, unseen again until it turns up somewhere new.
Do you have to cut out and remove the affected timber?
Yes, for anything structurally weakened. Rot-weakened wood has lost its strength even where it looks fine, so it has to come out. Chemical treatment isn’t a substitute for removing material that’s already decayed. You can’t fungicide your way out of a joist that’s lost its load-bearing capacity.
The affected sections get cut back to timber that’s structurally sound, then the new sections and the surrounding original wood get treated before anything is closed up or rebuilt. Once that’s done, the rebuild itself sometimes uses splice repairs, replacement sections, or, for less structural spots, one of the epoxy-based wood rot repair products designed for exactly this stage, though for load-bearing timber like joists and rafters, full replacement is usually the safer call over a filler repair.
How far past the visible damage does treatment need to reach?
Standard practice is to cut back and treat sound timber a set distance past the last visible strands, usually somewhere in the range of 300mm to a meter (roughly one to three feet). The exact distance depends on how established the outbreak is. That distance comes straight from how the fungus spreads: mycelium travels out searching for new timber, often well beyond where any damage shows on the surface. Stopping at the edge of visible rot can leave live fungus behind in wood that looks perfectly fine. Surrounding masonry within that same zone gets treated too. That’s exactly how dry rot spreads from one section of timber to another without ever touching open air.
It sounds like overkill until you’ve seen an outbreak resurface eighteen months later two feet from where the “repair” stopped. Treating only the timber you can see damage on is one of the most common reasons dry rot treatment fails, and it’s almost always because the cut line stopped at the edge of the visible patch instead of following the mycelium further out.
How long does dry rot treatment take to actually work?
Cutting back timber, brushing or spraying fungicide, treating the masonry: once the area’s prepped and dried out, a contractor can often get through that part of the job in a day or two. That speed can be misleading. You won’t know it actually worked until you’ve watched the area for weeks, sometimes months. That’s the part nobody puts on the invoice.
Drying out a damp structure properly, especially masonry that’s been wet for months, can take several weeks on its own before treatment even starts. After treatment, the real test is watching the area over time: moisture meter readings need to settle and stay down, and there should be no new fungal growth showing up nearby. Depending on how bad the original outbreak was, that monitoring period often runs anywhere from a few weeks to several months before anyone’s comfortable calling it arrested. If a contractor promises a fully guaranteed, done-and-dusted outcome on the day they leave, that’s a timeline mismatch worth asking about.
Can you treat dry rot yourself, or does this need a professional?
Depends entirely on scale and location. A small, early, easily accessible patch, say a section of skirting board or an exposed shed timber where you can see the full extent of the damage and reach it without demolition, is genuinely manageable with an off-the-shelf borate treatment and a bit of patience. Cut back to sound wood, treat generously, let it dry, done. This is the version that costs the price of a tin and a Saturday, and there’s no shame in that being the whole job. If that sounds like your patch, how to get rid of dry rot walks the same afternoon start to finish.
Where this stops being a weekend project is anything structural, joists, rafters, load-bearing timber, or anywhere the outbreak might be hiding behind masonry, under a floor, or inside a wall cavity you can’t fully inspect yourself. This is the point where a wrong guess actually matters. Get a load-bearing joist wrong and the floor above it isn’t safe to stand on. Dry rot’s habit of traveling unseen through brickwork is exactly why a DIY treatment on a hidden outbreak can look successful and still be sitting there a year later, having simply moved to the next available timber.
That’s usually the point to bring in someone who does this for a living. The reassuring part about the money: the fungicide itself is cheap no matter who applies it.
What actually moves a quote up or down is scope, how much timber has to come out, how much masonry needs treating, whether it’s a joist or a skirting board. When you’re comparing estimates, ask why one contractor thinks the outbreak is bigger or smaller than another does.
A joist replacement runs the bill up fast; a patch of skirting board barely moves it. If you’re weighing that decision, it’s worth looking at how to vet dry rot repair contractors and get comparable quotes, and at what typically drives dry rot repair cost from there.
How do you know the treatment actually worked?
A few honest signs the outbreak is arrested:
- Existing fungal strands and mycelium have dried out and gone brittle, often crumbling to a dust-like texture rather than staying soft or spreading.
- No new orange-brown fruiting bodies (the flat, pancake-like sporophores dry rot produces to release spores) have appeared anywhere nearby.
- Moisture meter readings on the surrounding timber and masonry have dropped and stayed down, generally well under that 20% threshold, across repeat checks over weeks or months.
- Treated wood surfaces feel solid, not spongy or soft, when you press a thumbnail in.
Signs it’s not actually done: readings that creep back up after rain, any fresh strands radiating out from the treated zone, or a musty, mushroomy smell returning to a room that had cleared up. None of those mean the whole job failed, but they do mean it’s worth another look before you close everything up for good. Keep the receipts and the moisture readings from the first check, too. If anything does resurface, whoever looks at it next will want to know what was actually done and when, not just that “it was treated” at some point.
None of this needs to be perfect on the first attempt, and nobody expects you to become a mycologist over one stressful weekend. It does need to happen in the right order: dry the space out, kill what’s there with the right product in the right place, cut out what’s structurally gone, then give it time to prove itself before anyone calls it finished. If you only do one thing differently after reading this, make it the moisture check, find the leak, fix it, and check the reading again in a week. Every other step depends on getting that one right first, and it’s the one thing on this whole list you can start today, before you’ve even booked a quote.