How to Get Rid of Dry Rot: The Full Weekend Job
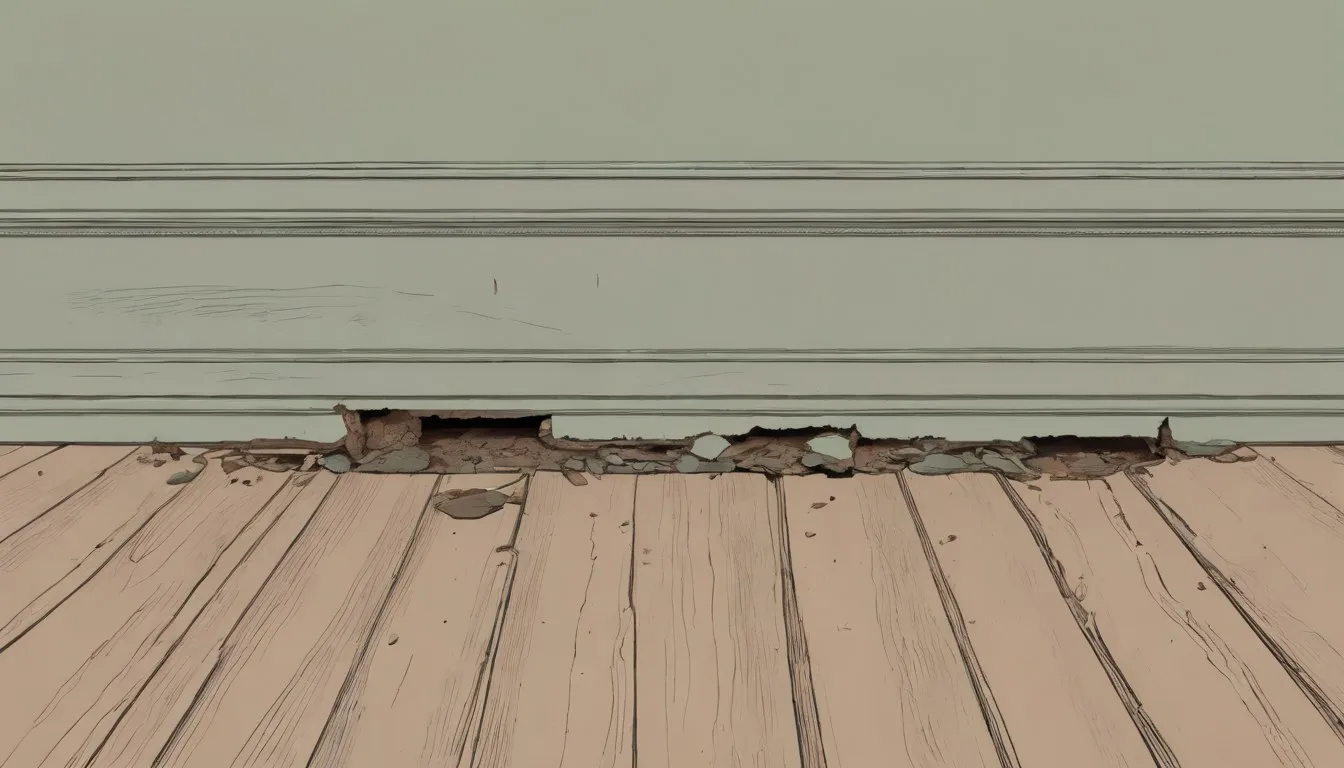
You press a thumb into the windowsill and it just gives, soft and a little springy, like the wood has turned into stale cake. Maybe there’s a faint mushroomy smell, maybe you’ve already found a patch of something that looks like cotton wool or grey skin tucked into a corner where the paint’s been flaking. That’s the moment most people decide this weekend is the weekend. Fair enough. It’s doable. It’s also not a two-hour job, and going in thinking it is will wreck your Saturday and your motivation by lunchtime.
What Does “Getting Rid of” Dry Rot Actually Mean?
Here’s the part that trips people up before they’ve even picked up a chisel: killing the fungus and removing the damaged wood are two separate jobs, and you need both. You can spray a fungicide directly onto that soft, crumbly windowsill all day and it won’t matter, because the wood itself is structurally gone. It has to come out. But if you only cut out the wood you can see is damaged and skip the fungicide, you’re leaving active Serpula lacrymans spreading quietly through timber that still looks fine to the eye.
So “getting rid of it” really means four things happening in order: cut out the dead wood with margin to spare, kill what’s left in the surrounding timber, dry out whatever let the moisture in to begin with, and rebuild. Skip any one of those and you’re back here in a year, except now behind a fresh coat of paint.
How Do You Know It’s Really Dry Rot Before You Start Cutting Into Anything?
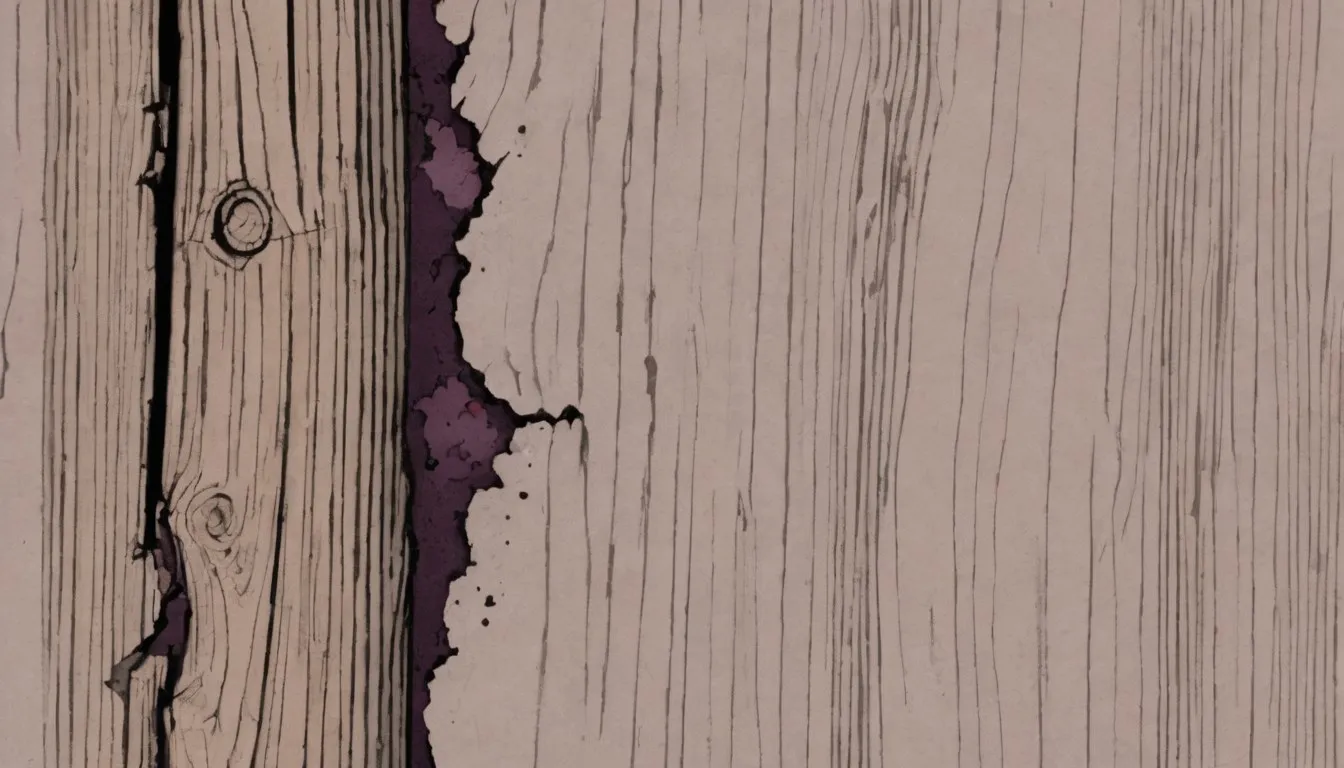
Give it thirty seconds before you touch a saw. Dry rot wood tends to break across the grain into little cubes, almost like it’s cracked into brittle blocks, and it’s usually dry and light rather than wet and mushy. You might see reddish-brown spore dust, or that cottony white or grey fungal growth (sometimes called mycelium) fanning out along a surface, occasionally with mushroom-like fruiting bodies if it’s gone unnoticed a while. There’s often a distinct damp, earthy smell even after the wood has dried out.
If what you’re looking at is dark, stringy, and wet to the touch, and the wood splits along the grain in long fibrous strands rather than cubes, you might be dealing with wet rot instead, which is treated differently and doesn’t spread through masonry the way dry rot can. If you’re genuinely unsure which one you’ve got, it’s worth working through dry rot vs wet rot before you commit to a treatment plan, since the wrong assumption here wastes a weekend. And if you want the full picture on what you’re fighting, what dry rot is covers the biology in more depth than you need for the job itself.
What Do You Need on Hand Before You Touch the Wood?
Nothing exotic, but you do want it all sitting on the workbench before you start, because stopping mid-demolition to run to the hardware store is how a Saturday project becomes a Sunday-and-next-Saturday project.
- A respirator or at minimum a well-fitted dust mask. Disturbed dry rot throws spores you don’t want to breathe for an afternoon.
- A moisture meter with a pin probe, so you’re not guessing where the damage stops.
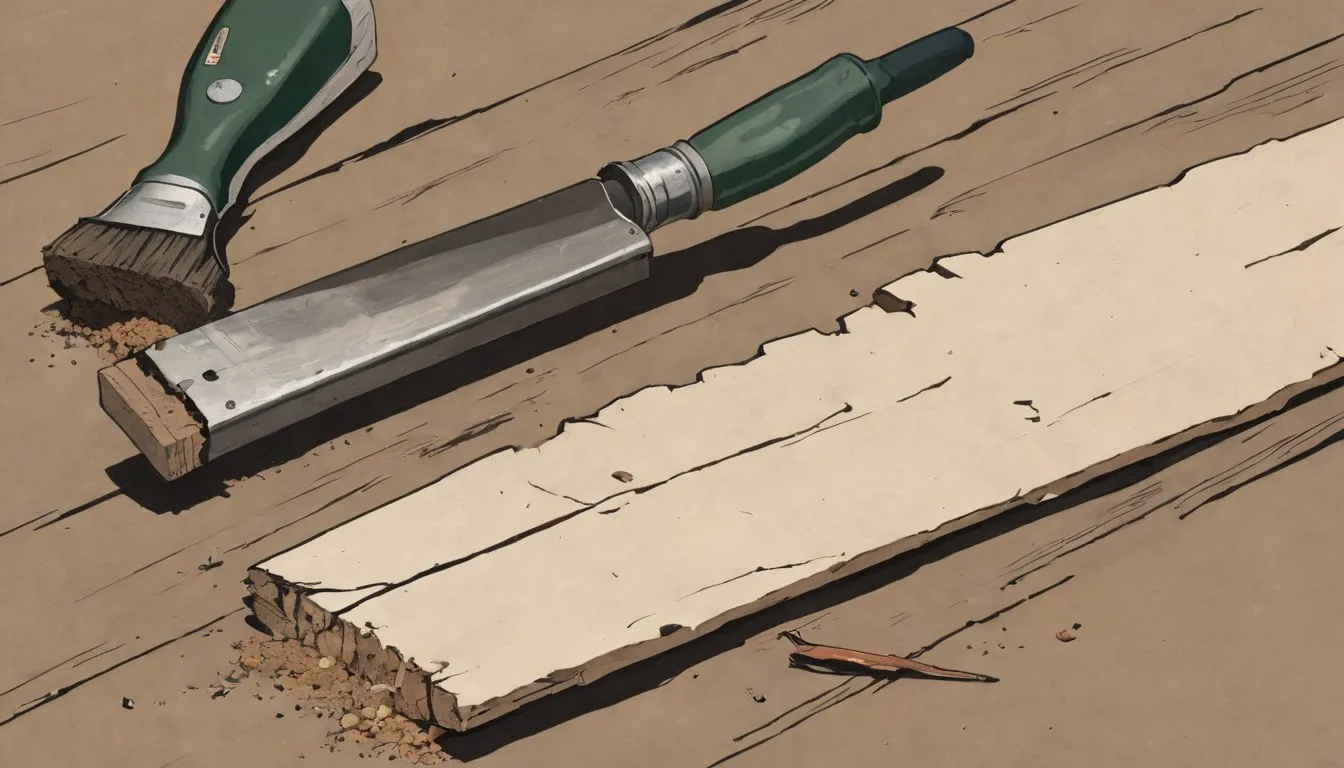
- A sharp chisel, a pull saw or reciprocating saw, and a wire brush for the masonry underneath.
- A borate-based wood preservative or another EPA-registered fungicide labeled for dry rot.
- Either an epoxy wood consolidant and filler, or replacement timber cut to size, depending on how far gone the piece is.
- Old sheeting or a tarp, because this gets dusty and the debris shouldn’t go anywhere near your garden beds or compost.
Step 1: Cut Out the Affected Wood (and Then Some)
This is the step people underestimate. The fungus you can see is never the full extent of it. The mycelium travels through the wood well past where the surface looks damaged, so the standard rule is to cut back at least 12 to 18 inches beyond the last visible sign of decay, and test each cut edge with your moisture meter as you go. If a reading still comes back above 20% wood moisture content, or the wood still shows that dry, brittle, cubed texture, keep cutting back further.
This is also where you figure out what you’re actually dealing with structurally. A decorative windowsill or a strip of trim is one thing. A joist end, a stair stringer, or anything holding weight is a different conversation entirely, and the distinction between a load-bearing beam and a non-structural board matters a lot here. If there’s any doubt about whether a piece is carrying load, prop or shore it before you start removing material, and if you’re not confident making that call yourself, this is a reasonable point to bring someone in rather than guess.
Step 2: Kill Off the Fungus in the Surrounding Timber
Once the obviously dead wood is out, you’re left with a margin of timber around the cut that looks sound but has almost certainly been in contact with the fungus. This is where the borate-based preservative or another EPA-registered fungicide comes in. Most products get brushed or sprayed generously onto the exposed timber and into the masonry behind it, since dry rot happily travels through brick and mortar looking for its next meal of wood. Some products call for a second coat once the first has soaked in, and a few are formulated as an injectable gel for solid masonry. Read the label for your specific product, because coverage rates and dry times vary. If you want the deeper rundown on which product type fits which situation, dry rot treatment covers that in more detail than fits here.
Step 3: Find and Fix Whatever Got the Wood Wet in the First Place
This is the step that actually determines whether any of the above sticks. Dry rot doesn’t start on its own. Something let water in, or trapped humidity somewhere it couldn’t escape: a cracked seal around a window, a gutter overflowing onto a wall, a roof flashing that’s lifted, condensation pooling in a poorly ventilated crawlspace. If you rebuild over the same unresolved leak, the rot comes back within a year, hidden behind the new wood this time.
Walk the area with fresh eyes before you close anything up. Check the flashing and caulking around the original damaged wood, look at grading and downspouts if it’s near ground level, and if it’s in a wall cavity or crawlspace, think about airflow as much as water. A moisture source doesn’t have to be dramatic to matter. A slow, unnoticed drip over two winters does plenty of damage.
Step 4: Let the Area Dry Out Completely Before Closing It Up
Once the leak or damp source is handled, resist the urge to rebuild immediately. Any moisture left in the surrounding structure will just reactivate the problem behind your new wood, where you won’t see it happening until it’s advanced again. Run a dehumidifier or fans through the space, and keep checking with your moisture meter rather than eyeballing it. You’re generally looking for readings that have settled below 20% wood moisture content and stayed there across a few checks, not just dipped there once.
Realistically, this takes anywhere from a few days for a small, well-ventilated area to a couple of weeks for something enclosed, like a wall cavity or a crawlspace with poor airflow. This is the step that turns a one-weekend job into a two-weekend job, and it’s also the step people skip because it’s boring and invisible. Don’t skip it. Taping a simple log to the wall near the repair, date and reading, date and reading, makes it obvious when you’ve actually hit dry and stable instead of just impatient.
Step 5: Rebuild With Filler or New Timber
Now the actual rebuilding, and which method you use depends on how much sound wood you have left to work with. If the timber is mostly solid with a soft section here and there, an epoxy wood consolidant followed by an epoxy filler can restore the shape and strength without replacing the whole piece; the consolidant soaks in to harden the remaining fibers, and the filler builds the missing profile back up, sandable and paintable once cured. This works well for cosmetic trim, sills, and decorative elements where you’re patching rather than rebuilding.
If more than about a third of the piece is gone, or it’s a structural timber vs cosmetic trim situation where the piece needs to actually carry weight, don’t try to epoxy your way out of it. Replace it with matching, pressure-treated or preservative-dipped timber, sized and fastened the way the original was. Epoxy holds a windowsill together fine, but a joist needs full timber replacement to carry load safely.
How Long Does This Whole Process Actually Take?
For one small area, like a single windowsill or a short section of trim, plan on a solid weekend: a half day to cut out and treat, then however long the drying stretches (often three to five days if you keep a fan on it), then a half day to fill or rebuild. So really it’s two half-days of active work bookending a drying week you mostly just have to wait out.
For anything larger, a section of subfloor, multiple joists, a wall cavity that turned out to be worse once opened up, budget two to three weekends minimum. The demolition and treatment might only take a day or two of actual labor, but drying an enclosed cavity properly can eat a week or two on its own, and you generally don’t want to rush that part just to hit a deadline you set for yourself.
Is This a DIY Weekend, or Time to Call Someone?
Small, contained, cosmetic damage, a windowsill, a piece of exterior trim, a section of fascia, is very reasonably a DIY project if you’re comfortable with a saw and a chisel and you’re honest with yourself about the cut-back margin. Where it stops being a weekend project: if the rot has reached a load-bearing beam rather than a non-structural board, if you’re finding it in more than one room or it’s tracked into masonry over a wide area, or if you open up one section and keep finding more behind it. Widespread or structural dry rot is a job for dry rot repair contractors, both because of the engineering judgment involved and because some mortgage and insurance situations want documentation that the repair was done to a certain standard.
If you’re trying to figure out who actually handles this kind of work and how to vet them, who fixes dry rot walks through that side of it. There’s no shame in doing steps 1 through 3 yourself to stop things from getting worse, then bringing in a professional for the structural rebuild.
How Do You Keep It From Coming Back?
Once everything’s dry, treated, and rebuilt, keeping the wood dry matters more than any fungicide you applied. Dry rot needs sustained moisture to establish itself in the first place, so the whole game afterward is keeping wood dry and keeping air moving around it. Check that the fix you made in step 3 is actually holding: gutters clear, flashing sealed, grading sloped away from the foundation, crawlspaces and roof spaces ventilated the way they’re supposed to be.
One doable next step for this week: walk the exterior of your home after the next hard rain and look for anywhere water is pooling, dripping somewhere it shouldn’t, or taking longer than a day to dry. That single habit catches most of what eventually turns into dry rot, long before it gets anywhere near your windowsill. For the fuller routine, how to prevent dry rot covers the seasonal checks worth building into your year.