Fixing Rotted Wood Without Ripping Out the Whole Board
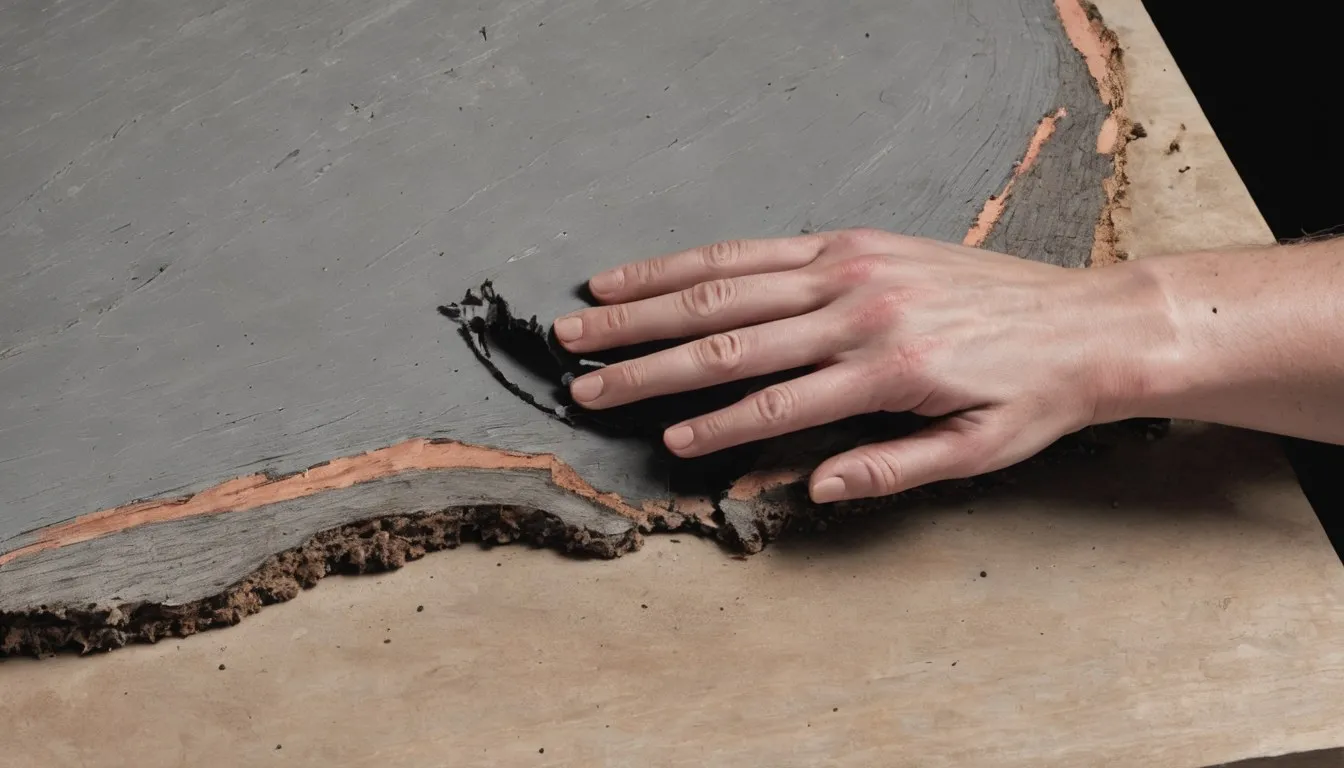
You press a screwdriver into the bottom of a windowsill, or a porch post, or that spot on the deck rail where the paint has been bubbling for a year, and it just sinks in. No resistance. Like pushing into a stale marshmallow. Your first thought is probably the expensive one: this whole board has to come out.
Sometimes it does. But a lot of the time, that soft spot is a small, contained pocket surrounded by wood that’s still perfectly solid, and you can dig it out, harden what’s left, and fill it the way a dentist fills a cavity. Same idea: remove the decayed material, stabilize the structure underneath, pack the hole, and seal it so the problem doesn’t start again. Professional carpenters use this same method on trim, sills, and posts all the time. Dig out the bad wood, harden what’s left, fill the gap, and seal it up.
The catch is knowing which soft spots qualify and which ones are just the visible tip of something bigger. Getting good at that judgment call, sorting a contained soft spot from a bigger problem, matters more than getting good with the epoxy ever will.
Can you actually fix rotted wood without tearing it out?
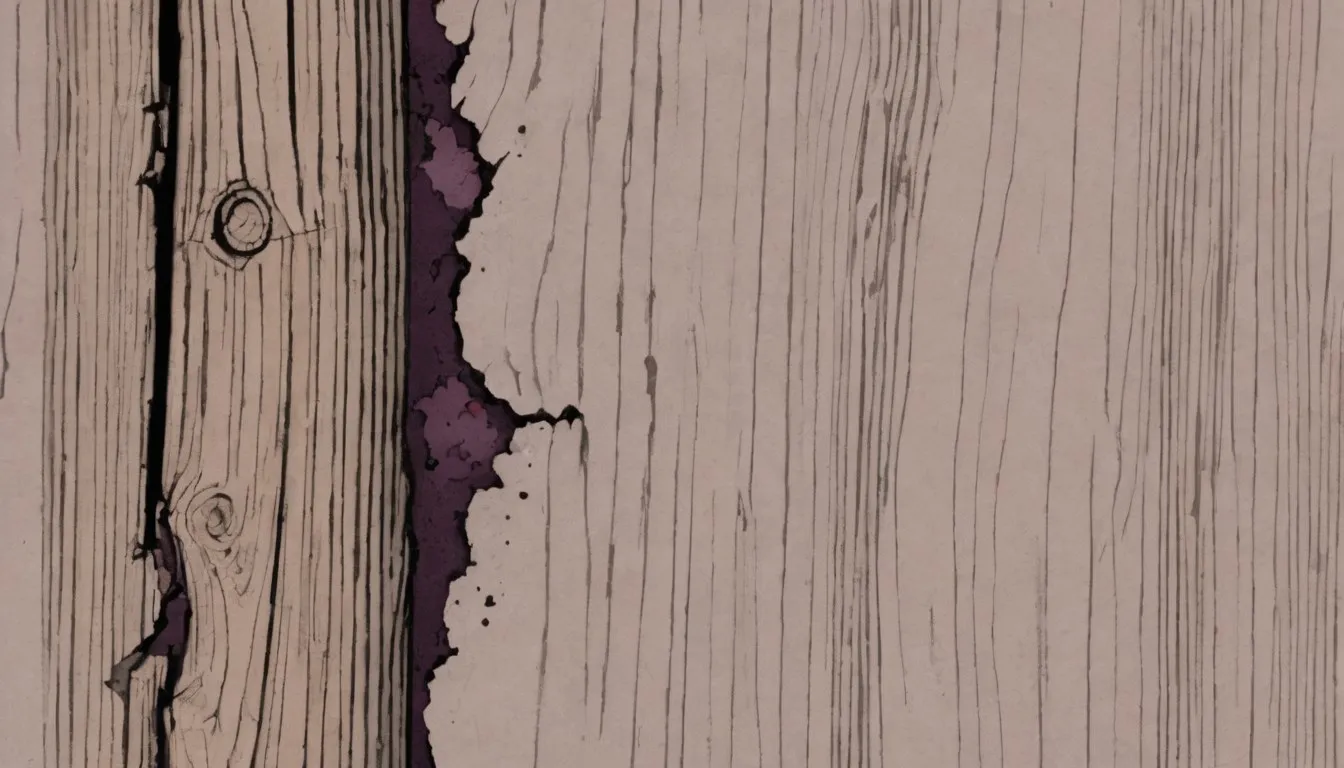
Yes, if two things are true: the rot is shallow, and the wood immediately around it is still sound. Rot spreads from a moisture source outward, so the damage is often worst at the surface and at the lowest point where water sits, while wood an inch or two away can be untouched. That’s the pocket you’re looking for.
This step patches the wood itself, full stop. Whatever fungus caused the rot is a separate problem that needs its own fix. If the source of moisture is still active, hardening and filling a soft spot just buries the problem under a fresh coat of paint for a while. Arresting the fungus is really its own separate job, and if you haven’t dealt with that yet, it’s worth reading through a guide on dry rot treatment before you pick up a chisel, because a patch on wood that’s still wet or still infected is a patch you’ll be redoing next spring.
How do you know if a patch will hold?
Grab an awl, an ice pick, or just a flathead screwdriver and start probing around the soft spot in every direction, not just straight down. Sound wood resists the point and gives a firm, almost springy push-back. Rotted wood lets the tool sink in with little to no resistance, sometimes crumbling instead of splitting.
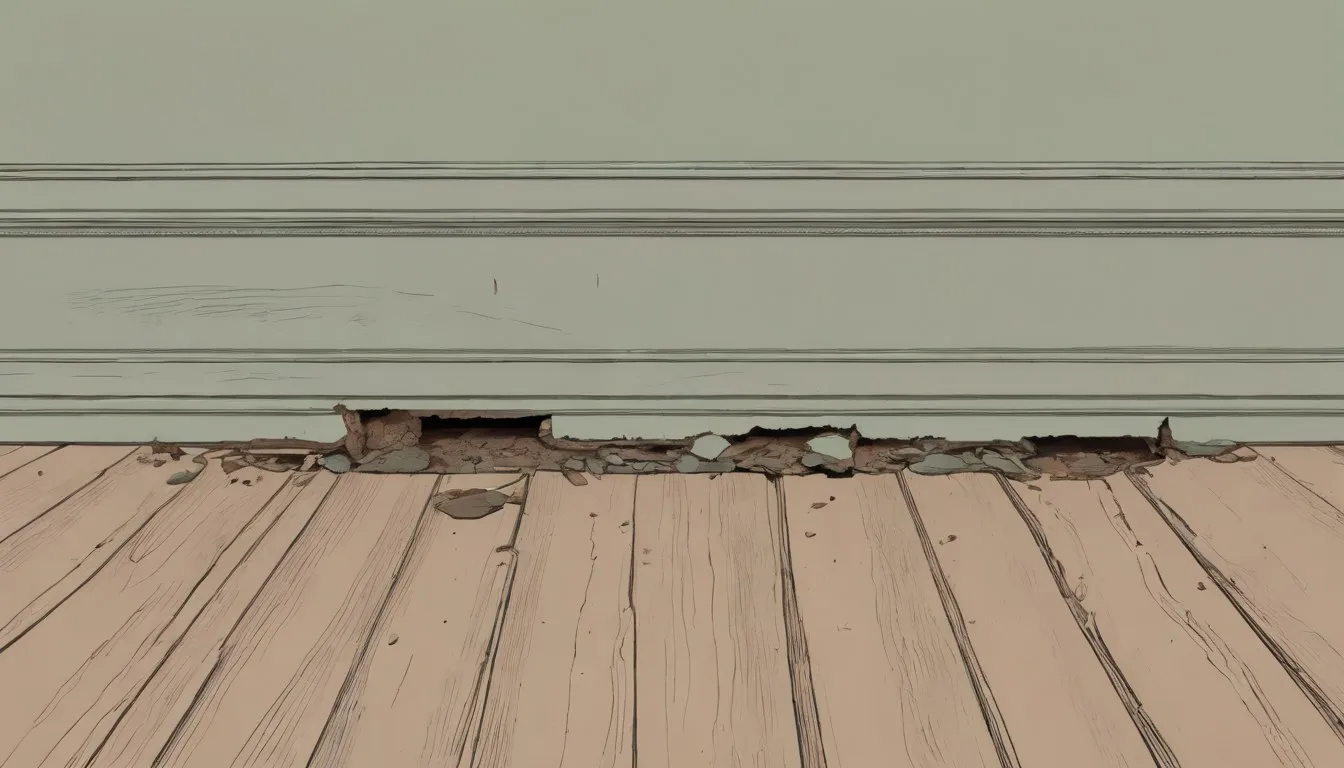
What you’re mapping is a margin of solid wood around the damage, at least an inch of firm material in every direction, including behind and beneath the soft spot, not just around its visible edges. If you probe two inches out and it’s still spongy, the rot is bigger than it looks from the surface, which is common since paint and caulk can hide a lot.
Then check moisture. A cheap pin-type moisture meter driven into the surrounding wood should read under 20 percent. Wood at that level or lower generally resists new fungal growth, so a reading well above it means the source of water is still active and any repair you do now is temporary no matter how well you execute it.
What you need before you start
Nothing exotic. The whole job runs on a handful of supplies:
- A chisel, or a rotary tool with a cutting bit for tighter spots
- A two-part epoxy wood consolidant (liquid hardener)
- An epoxy wood filler for the actual gap
- Gloves and a respirator rated for solvent vapors
- 120 and 220-grit sandpaper
- Exterior primer and paint that matches the surrounding surface
Skip the wood putty or standard latex filler you’d use indoors. It doesn’t bond the way epoxy does and it has no business outside where it’ll get wet again.
Step 1: Dig out the soft wood
Chisel or rout out everything that’s spongy, crumbly, or discolored, working down and out until the tool meets real resistance on every side. Undercut slightly if you can, so the cavity is a little wider at the bottom than the opening, which gives the filler something to grip.
Be thorough here even though it’s tempting to stop early. Leaving even a small pocket of punky wood behind means you’re building a solid-looking repair on top of a soft core, and it will eventually telegraph through as a bump, a crack, or a soft spot in the exact same place, usually within a season or two.
Step 2: Let it dry, then check it again
This is the step people skip, and it’s the number one reason these repairs fail. Wood that feels dry to the touch can still be damp a quarter-inch below the surface, and sealing moisture inside with epoxy just traps it there, where it keeps feeding decay you can no longer see or reach.
Give the cavity real time to dry: a few sunny, low-humidity days outdoors, or up to a week in cooler, damper weather. Point a fan at it if you can. Then re-check with the moisture meter. You want that under-20-percent reading before you go any further, not a guess based on how it looks.
Step 3: Soak the area with a wood consolidant
A two-part epoxy consolidant is thin on purpose, thin enough to soak into what’s left of the wood fibers rather than just sit on top the way the thicker filler does. Some carpenters use a borate-based wood hardener instead or as a first pass, since borates also discourage new fungal growth in the wood they penetrate.
Brush it on generously and keep watching the wood. As long as it’s visibly absorbing the liquid, add more. Once it starts to pool and bead instead of soaking in, it’s saturated. Let it cure fully per the label, usually a matter of hours, before moving to the filler. What you end up with is wood that’s stiffer and denser than it was in its damaged state, a solid base for the epoxy filler to grip.
Step 4: Fill and shape with epoxy
Mix the epoxy filler in small batches since it starts to set fast, and build it up in layers rather than packing the whole cavity at once. Thick single pours can crack as they cure and don’t bond as reliably to the wood underneath.
Press each layer in firmly to avoid trapping air pockets, and rough-shape the final layer while it’s still workable, a putty knife gets you close to the final profile before it hardens, which saves a lot of sanding later. Full cure typically takes a day or two depending on temperature and the specific product, though it’s often firm enough to shape within an hour. Once it’s hard, sand it down to match the surrounding surface, starting with 120-grit and finishing with 220.
Step 5: Seal, prime, and paint
Don’t treat this as optional or as a finishing touch you’ll get to eventually. Cured epoxy is water-resistant, but the seam where it meets the original wood isn’t, and an unsealed repair gives moisture a direct path right back into the material you just spent an afternoon fixing.
Prime the repaired area and a few inches of surrounding wood, then apply exterior paint as you would on the rest of the piece. That primer and paint layer is the actual barrier keeping water out going forward, so give it real coverage instead of just enough to match the color.
When is a patch the wrong call?
Some situations call for a different answer than epoxy, and it’s worth being honest with yourself about which one you’re looking at:
- Structural members like joists, beams, or load-bearing posts. A patch will make the wood look whole again and add a little surface stiffness. That’s plenty for trim or a railing, but a joist or beam needs to carry real weight, so get a pro to check anything load-bearing before you call it done.
- Rot that’s eaten through roughly a third or more of the wood’s thickness. Past that point you’re mostly filling air, and the surrounding shell often isn’t strong enough on its own to hold the repair.
- Rot that keeps coming back in the same spot after a repair. That’s a sign the actual moisture source, a gutter, a flashing gap, grade sloping toward the house, was never fixed, and it’s worth asking whether dry rot can even spread through the surrounding framing before you patch the same spot a third time.
Any of those, and it’s time to either replace the section outright or get an outside opinion from a dry rot repair contractor who does this kind of work regularly and can tell you honestly whether what you’re looking at is cosmetic or structural.
How long does a wood filler repair actually last?
Years, typically, on a repair that was dried out properly, hardened, filled, and sealed well. Some epoxy patches on trim and sills go a decade or more without issue. But it’s not a forever fix, and it’s not meant to be one.
Think of it the way you’d think of exterior caulk: something you check on every year or two and expect to touch up again down the line. Keep an eye on the paint film around the patch, since a crack there is usually the first sign moisture is finding its way back in. So if you’ve got one soft spot nagging at you right now, don’t wait for it to spread. Grab a screwdriver, probe the edges, and see what you’re actually working with this weekend.