Wood Hardener for Rotted Wood: What It Can (and Can’t) Fix
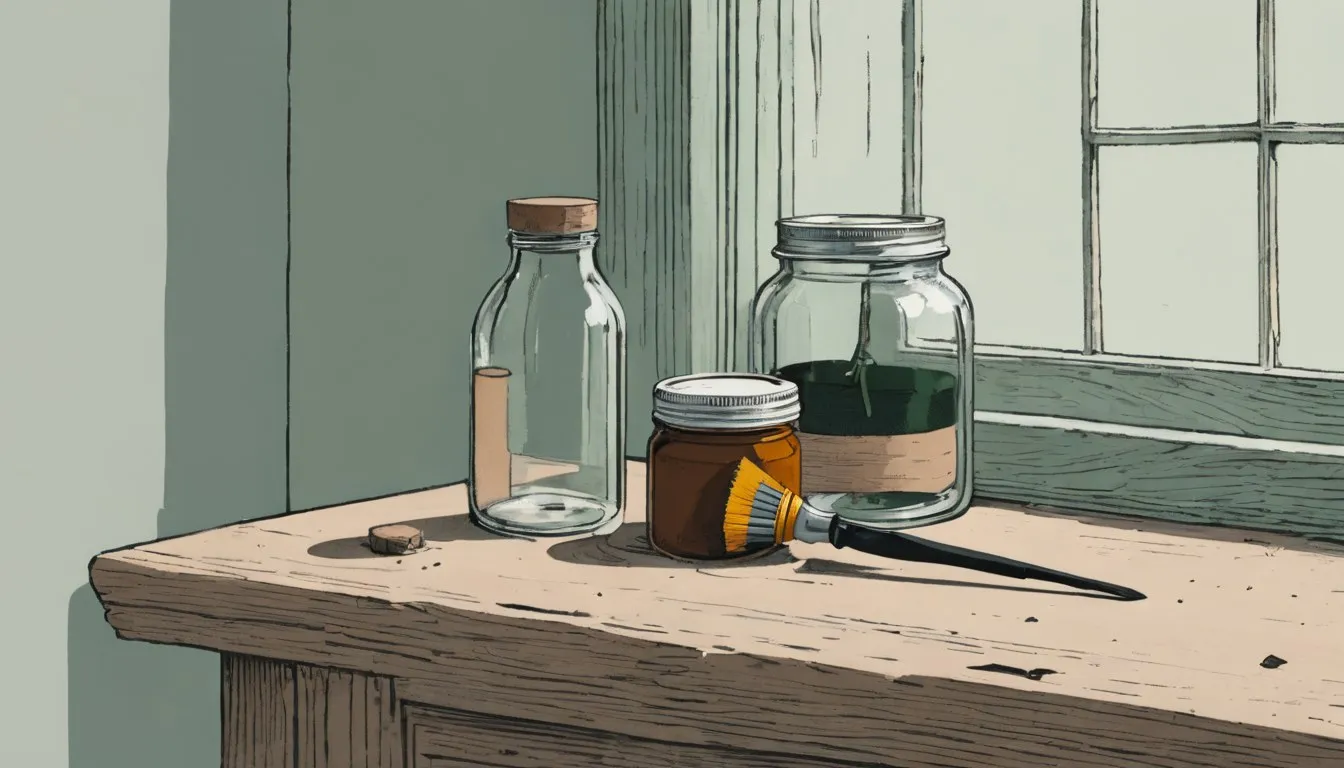
You press a screwdriver into a soft spot on the porch trim, expecting some resistance, and it just sinks in. An inch, maybe more, like you’re poking a stick of cold butter. No crunch, no wood, just a mushy give that tells you the trim has been quietly rotting behind that last coat of paint for years. Now you’re standing there wondering if the can of wood hardener at the hardware store is actually going to fix this, or if you’re about to waste a Saturday and fifteen dollars on wishful thinking.
Here’s the honest answer: it depends on how far that softness goes, and what you’re expecting the product to do.
What Is Wood Hardener, Really?
Wood hardener, sometimes labeled a wood consolidant on the can, is a thin liquid resin, usually solvent-based, made to soak deep into wood that’s gone soft and punky. You’ll hear this called ‘punky’ wood, meaning it’s lost its structural fibers to rot but hasn’t fully collapsed or crumbled away. It’s still holding its shape, just not much strength.
The product itself is watery, almost like a stain in consistency, and that’s on purpose. It’s thin enough to travel into the wood grain, work down into the softened cellulose, and then cure into a hard resin once it’s inside. Minwax High Performance Wood Hardener is one of the more familiar names on shelves, but the category works the same way across brands: it’s a penetrant first, a hardener second.
What it is not is a filler. It won’t rebuild a missing chunk of trim or fill a hole. That distinction trips up a lot of first-time buyers, and it’s worth sitting with before you open the can.
How Does Wood Hardener Actually Fix Rotted Wood?
Fungus feeds on the cellulose and lignin that give wood its stiffness, which is why rotted wood feels spongy instead of splintering when you dig at it. The fibers are still physically there in early and moderate rot, they’re just loose and weakened, like a sponge instead of a solid.
Wood hardener works by flowing into that loosened structure and filling the microscopic gaps between the weakened fibers. Once the solvent evaporates, the resin left behind cures hard, essentially gluing the punky fibers back together into something stiff enough to hold a screw, hold paint, and resist a screwdriver poke again.
That mechanism only works if there’s still fiber structure for the resin to bond to. If the wood has decayed to the point of being hollow, crumbled, or reduced to sawdust and mush with no fiber left to reinforce, hardener has nothing to grab onto. It’ll soak in, sure, but it won’t turn mush into wood. If there’s no fiber left, pouring in more hardener won’t rebuild it.
Wood Hardener vs. Filler: Are They the Same Thing?
They sit next to each other on the shelf and get lumped together in a lot of DIY advice, but they do two different jobs.
- Wood hardener stiffens wood that’s still there but weakened. It reinforces the fibers you already have.
- Two-part epoxy filler, like Abatron’s LiquidWood and WoodEpox system, rebuilds wood that’s actually missing. You mix it, it stays workable for a while, and you shape or carve it once it firms up, much like auto body filler.
Most real repairs use both, in sequence. Hardener goes down first, into the punky wood around the damage, so the surrounding material is solid again. Then filler goes on top or into any gaps to replace what’s genuinely gone, missing corners, dug-out holes, sections that crumbled away entirely. If you want a fuller rundown of which epoxy filler to reach for and why, wood rot repair epoxy covers that ground in more depth. Skipping the hardener step and going straight to filler is one of the more common ways these repairs fail early: the filler bonds fine to itself, but the wood underneath it is still soft, so the whole patch flexes and eventually pops loose.
How Do You Know If Wood Hardener Will Work on Your Repair?
There’s no single number that tells you “yes, hardener will fix this” or “no, replace the board.” What you’re really assessing is how much sound wood is left to work with. A few checks help:
- The screwdriver poke test. Press a flathead screwdriver or an awl into the suspect area at a low angle. Solid wood resists and you can feel a distinct stop. Punky wood gives with a soft, mushy resistance. Wood that’s rotted through offers almost no resistance at all, and the tool sinks in freely.
- How far the softness goes. Probe around the edges and the depth of the soft spot, not just the center. Surface softness that’s an eighth of an inch or so deep, on wood that’s still firm underneath, is a good hardener candidate. Softness that goes all the way through a board’s thickness usually isn’t.
- Whether it still holds a screw. Try driving a screw into a less visible section of the affected area. If it grips, there’s enough fiber left for hardener to reinforce. If the screw spins freely or pulls out with no resistance, the wood has lost too much structure.
- Whether the piece is structural. Decorative trim, fascia, and window sills are reasonable candidates for a hardener-and-filler repair. Load-bearing framing, structural sills, or anything holding weight is a different conversation, and generally not something to gamble on a can of consolidant. That’s a job for replacement or a contractor’s judgment call.
If you’re still unsure whether a piece is salvageable at all, can dry rot be fixed walks through that broader judgment call in more detail.
How Do You Apply Wood Hardener Step by Step?
Prep the wood first
Dig out any material that’s fully crumbled or loose using a screwdriver, awl, or wire brush. You want to expose sound, if softened, wood underneath, not leave a layer of rotted debris for the hardener to soak into uselessly. Let the area dry out completely before you apply anything. Wood hardener needs to displace air in the wood’s pores, not fight against trapped moisture. If the wood feels damp, give it a few dry, sunny days, or speed things along with a fan or heat gun on low, held at a safe distance.
Apply it generously
Brush it on, or for vertical or hard-to-reach spots, drill a few small holes into the punky area first and drip or inject the hardener in so it reaches deeper fibers, not just the surface. Keep applying until the wood stops absorbing it and starts to look wet and glossy on top rather than soaking in immediately. Punky wood is thirsty, and one coat is rarely enough. Two or three applications, letting each one soak in before the next, is typical for anything more than surface-level softness.
Take the safety notes seriously
This is a solvent-based resin, and the fumes are genuinely strong, not a mild “crack a window” situation. Work outdoors or with real cross-ventilation, wear nitrile gloves since this stuff is not friendly to skin, and if you’re doing more than a small spot repair indoors, a respirator rated for organic vapors is worth having on. Keep it away from open flame; some wood hardeners are flammable while wet.
How Long Does Wood Hardener Take to Cure?
Most wood hardeners feel dry to the touch within a matter of hours, but tacky-dry and fully cured are not the same thing. Full cure, meaning the resin inside the wood has hardened completely and the piece is ready for filler or paint, generally takes something in the range of a day or two under normal conditions. Cooler temperatures and higher humidity slow that down; warm, dry conditions speed it up.
Before you move on to filler or finish, test it the same way you tested the original damage: press a screwdriver or fingernail into the treated area. It should feel firm and resist, not tacky or soft. If it still gives at all, give it more time rather than building on top of a partial cure.
Can You Paint or Stain Over Wood Hardener?
Yes, once it’s fully cured, but a couple of things are worth knowing before you grab a brush. Primer matters more here than on untreated wood. The hardened resin doesn’t absorb paint quite the same way surrounding wood does, so a coat of oil-based or shellac-based primer over the repaired area helps everything finish evenly rather than leaving a slightly different sheen where you can see exactly where the repair was made.
Stain is trickier. Because the resin has changed how that section of wood absorbs liquid, stained hardener spots often come out a different shade than the wood around them, sometimes noticeably darker or more matte. If the piece is going to be stained rather than painted, test on a scrap first if you can, or plan on painting instead if an even, natural wood look really matters to you.
When Wood Hardener Isn’t the Answer
Wood hardener has a real job, and it’s a narrower one than the marketing on the can might suggest. It’s not the fix when:
- The wood is soft all the way through. If there’s no firm core left to bond to, you’re better off cutting out and replacing the section.
- It’s a structural member. Framing, joists, load-bearing sills, anything holding real weight, deserves an honest assessment of whether reinforcement is enough or the piece needs to come out entirely.
- The fungus causing the rot is still active. Hardener stiffens the wood fibers you already have. The fungus eating that wood keeps spreading unless you kill it first. If the source of the decay, often dry rot fungus like Serpula lacrymans, hasn’t been addressed, you can harden and paint over a repair beautifully and still have active rot spreading behind it within a season or two. Getting the fungus itself under control first is covered in dry rot treatment, and it’s not a step worth skipping just because the wood looks fixed on the surface.
The realistic version of this repair, the one that actually holds, is: dry the area out, deal with whatever’s still causing moisture or fungal growth, harden what’s salvageable, fill what’s missing, then prime and paint. Skip a step and you’re just buying time. If you want the fuller sequence laid out end to end, our guide on how to repair rotting wood without replacing it walks through the whole process, and our wood rot repair products comparison is a good place to check hardener against the other products sitting on that same shelf before you decide what your specific repair actually needs.
If you only take one thing from this: a fifteen-dollar can of hardener is a legitimately useful tool for wood that’s weakened but still whole. But it can’t rebuild wood that’s already crumbled away, no matter how much you pour in. Do the screwdriver test from earlier before you buy anything: if it resists, grab a can this weekend and get started. If it sinks in and keeps going, save your money and plan on replacing that section instead.