Wood Rot Repair Epoxy: What It Is and How to Use It Right
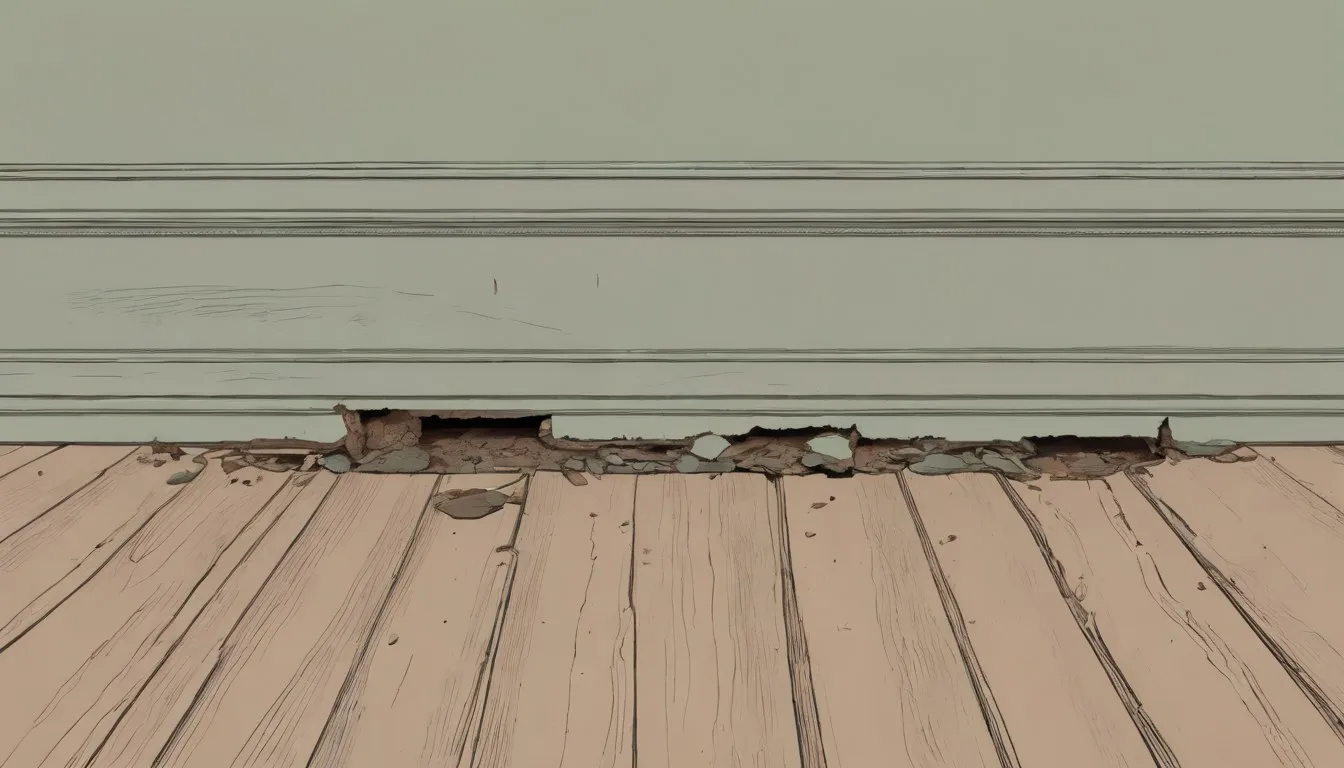
You’re on your knees at the base of a windowsill, poking at a soft gray patch with the tip of a flathead screwdriver, and it goes in like the wood is made of stale bread. That screwdriver sinking in an inch, straight through wood that should be solid, is the moment you realize this is bigger than a caulk-and-paint fix. So you go to the hardware store, and there’s a whole shelf of two-part kits with names like LiquidWood and WoodEpox and Petrifier, tubs and bottles and putty sticks, and none of it explains itself. You stand there for ten minutes with a $30 kit in each hand, trying to guess which one won’t waste your afternoon.
What is wood rot repair epoxy, actually?
Wood rot repair epoxy is a two-part system, and the “two-part” bit is the whole point. One part is a thin, watery consolidant, sometimes called a hardener, that soaks into soft, punky wood the way a sponge soaks up spilled coffee. It seeps into the damaged fibers and cures hard inside them, essentially gluing the rotted wood back into something solid again. The second part is a thicker epoxy putty or filler, mixed on the spot, that you pack into whatever’s left of the hole once the consolidant has hardened.
The consolidant re-hardens what’s still there, then the filler rebuilds what’s missing: two separate steps, done in that order. That’s why it works on rot in a way that surface products don’t. The consolidant step is what makes this different: it restores strength inside the wood fibers themselves, so the filler above has something solid to grip.
How is it different from wood filler or Bondo?
Regular wood filler, the kind in a tub for filling nail holes and small gouges, sits on top of solid wood. It’s not designed to bond into soft, compromised fibers or add any structural strength. Pack it into a rotted spot and it’ll often crack, shrink, or pop right back out within a season, because there’s nothing solid underneath it to hold onto.
Wood rot repair Bondo, the auto-body-style filler some people reach for on trim and siding, is a bit closer to true epoxy in behavior. It’s a two-part polyester filler that cures hard and can be sanded and shaped, and plenty of DIYers use it successfully on small, shallow rot repairs. Where it falls short of a real epoxy consolidant system is depth and bond. Bondo doesn’t have a separate liquid-hardener step that soaks into and re-solidifies deteriorated wood fibers first, so on anything more than surface-level softness, it holds shape in the hole without doing much to strengthen the wood around it. For a fuller rundown of where each of these products earns its keep, the breakdown of wood rot repair products is worth a look before you commit to one.
When does epoxy make sense (and when should you just replace the board)?
Here’s a rule of thumb that’s held up for me over a few different houses: if you can push a screwdriver in more than about an inch, or the soft area covers more than roughly a third of the board’s width or thickness, you’re better off cutting out and replacing that section. Epoxy repairs damaged wood fiber. Whether the piece can still do its structural job is a separate question, one worth answering before you reach for the mixing tray. It’s fantastic for the bottom two inches of a window sill, a soft corner on a porch post, a rotted spot around a door jamb, or gouges in trim. It’s a bad idea for a load-bearing joist, a badly compromised sill plate, or anything holding real weight.
If you’re standing in front of a spot and genuinely unsure which category it falls into, that’s a common enough dilemma that it gets its own full treatment in how to repair rotting wood without replacing it, which walks through the judgment calls in more detail than I can here. But as a gut check: when in doubt, and especially if the wood flexes or crumbles under hand pressure rather than just looking discolored, replace it.
What do you need before you start?
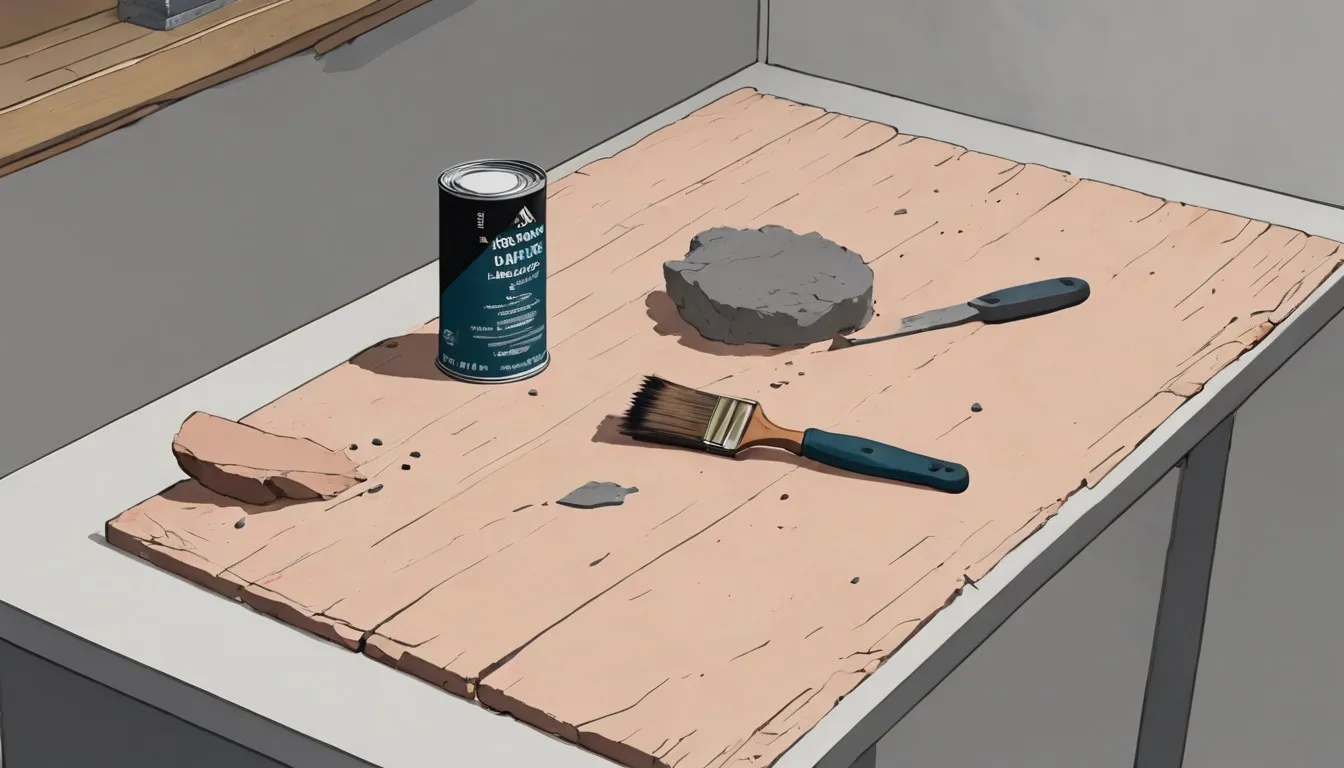
You don’t need much, and you probably don’t need to buy half of what’s on that shelf. Here’s the actual list:
- A liquid wood hardener/consolidant (this is the “part one” step)
- An epoxy filler putty, usually a two-tube or two-part paste system
- A small mixing tray or disposable container, plus a stir stick or putty knife
- A chisel or 5-in-1 tool for digging out the rotted wood
- Nitrile gloves, every time, no exceptions
- A respirator rated for organic vapors if you’re working indoors or in a small space, since the hardener has a real solvent smell
- Sandpaper in a couple of grits, roughly 80 for shaping and 150 or 220 for the finish pass
- A putty knife or old spoon for packing and shaping the filler before it kicks
That’s genuinely it. You don’t need a heat gun, a rotary tool, or anything with a cord unless you’ve got a lot of ground to cover.
How do you actually apply wood rot repair epoxy, step by step?
Start by digging out everything that’s actually rotted. Use the chisel to scrape and pry away anything soft, crumbly, or dark until you hit wood that resists the blade and feels solid. This is not a step to rush through out of squeamishness about making the hole bigger. Every bit of soft wood you leave behind is a bit of wood the epoxy can’t properly bond to.
Next, brush or drip the liquid hardener generously onto the exposed area, including any wood around the edges that still feels slightly punky. Let it soak in, then apply a second coat while the first is still tacky. On porous or deeply damaged wood, a third coat isn’t overkill. You want the wood to stop absorbing it, which is your sign it’s saturated.
While that’s curing, mix your epoxy filler according to the package, usually equal parts of two colored putties kneaded together by hand until the color is uniform with no streaks. Work fast here. Most putties give you somewhere between 20 and 40 minutes of working time before they start to stiffen.
Pack the filler into the cavity firmly, pressing it into corners and against the hardened wood so there are no air gaps underneath. Overfill slightly, mounding it a bit proud of the surrounding surface, since you’ll be sanding it down and it’s much easier to remove excess than to add more once it’s kicked.
Shape it roughly with a putty knife while it’s still soft, following the contour of the original wood as closely as you can. Once it’s fully cured, hard sanding is your friend: 80-grit to bring it down to shape, then 150 or 220 to smooth it out before priming and painting.
How long does it take to cure before you can sand or paint?
This is where people get impatient and pay for it later. Working time and cure time are two different clocks, and mixing them up is the most common way to waste a good repair. Working time, the window where the putty is soft enough to shape, is usually under an hour. Full cure, the point where the epoxy has reached its actual hardness and you can sand and paint over it without it shifting underneath, generally takes anywhere from 24 to 72 hours depending on the product, the temperature, and the humidity.
Cold weather slows this down considerably. If you’re working in a garage in the 40s, give it the longer end of that window, or longer. Paint applied over epoxy that hasn’t fully cured can trap solvents underneath, leading to a soft or bubbled finish that shows up weeks later, right when you thought the job was done. It’s a boring instruction, but wait the full cure time. It’s the difference between a repair that lasts a decade and one you’re redoing next spring.
Which wood rot repair epoxy should a first-timer buy?
A few names show up again and again in this space for good reason. Abatron’s LiquidWood and WoodEpox pairing is one of the most established systems, sold specifically as a consolidant-and-filler combo rather than two separate products you have to guess about matching. PC Products makes a similar pairing in PC-Petrifier and PC-Woody, and System Three’s RotFix is a well-regarded consolidant on its own, often paired with a separate filler.
One distinction worth knowing before you buy: exterior-grade epoxy is fine for trim, siding, and window components exposed to weather but not constant water contact, while marine-grade epoxy is formulated for wood that gets wet regularly, like boat hulls or dock posts, and tends to cost more accordingly. Don’t pay for marine-grade on a porch rail that gets rained on twice a month. If you want a closer, product-by-product comparison instead of a couple of names to start with, the guide to the best wood rot repair epoxy options gets into that side by side.
Does epoxy work on dry rot, or only wet rot?
Yes, epoxy will bond to and rebuild wood damaged by dry rot the same way it does wet rot, but only once the fungus causing the rot is actually dead. This is the part people skip and regret. Dry rot is a fungal infection, and sealing a live fungal colony inside a shell of epoxy traps warmth and moisture around it, letting the fungus keep spreading into the wood around your repair. If you’re dealing with the kind of dry rot that comes from a fungal source rather than plain weather damage, the difference matters enough that dry rot vs wet rot is worth reading first so you know which one you’re actually looking at, and dry rot treatment covers what it takes to actually stop the fungus before any filler goes anywhere near it.
How much does a DIY epoxy repair cost compared to hiring it out?
For a single small repair, a windowsill corner, a section of trim, a porch post base, you’re typically looking at $25 to $60 for the epoxy kit itself, plus whatever you already have in gloves and sandpaper. That’s the whole budget for a job that might take you an afternoon spread across a couple of days to account for cure time.
Hiring a contractor for the same single spot often runs a minimum service call of $150 to $400, mostly because you’re paying for their time and travel on a small job, not the material. Where hiring starts to make more financial sense is when the rot is extensive, structural, or spread across multiple areas, at which point the labor and assessment involved shift the math. If you’re trying to figure out which side of that line your situation falls on, dry rot repair cost breaks down what actually drives the price up on bigger jobs.
Quick answers: common wood rot epoxy questions
Does wood rot repair epoxy smell?
Yes, noticeably. The liquid hardener in particular has a strong solvent odor, similar to some paint strippers. Work in a ventilated space and wear a respirator if you’re indoors or in anything smaller than a garage with the door open.
Can you use it outdoors?
That’s exactly what most of these products are made for. Exterior-grade epoxy is formulated to handle sun, rain, and temperature swings once fully cured, which makes it a common choice for window sills, trim, fascia boards, and porch components.
Does it shrink as it cures?
Minimal shrinkage is normal and expected, which is part of why you overfill and mound the repair slightly before it cures rather than filling it flush. A little sanding afterward corrects the rest.
Can you drill or screw into it once it’s cured?
Yes. Fully cured epoxy filler is hard enough to hold a screw and can be drilled, though it’s a good idea to pre-drill rather than drive a screw straight in, the same as you would with dense hardwood.
None of this is a complicated repair once you’ve done it once. It’s mostly patience: dig out the bad wood honestly, saturate it properly, mix only what you can use before it kicks, and give the cure time the respect it’s asking for. Do that, and the $30 kit you were staring at in the aisle turns out to be the cheapest, least dramatic fix on that whole shelf.