Standing in the Wood Rot Aisle? Here’s What Each Product Fixes
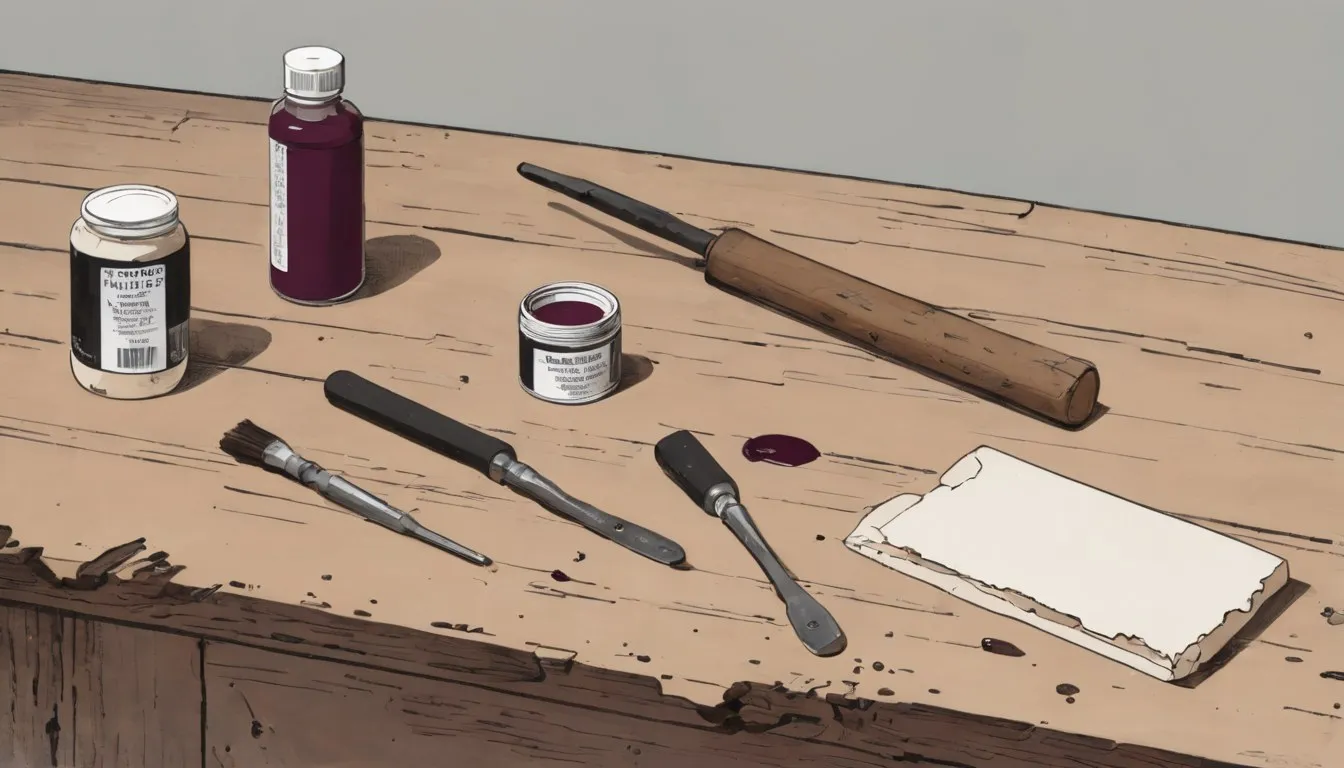
You’re standing in the paint aisle with a flashlight photo of your windowsill pulled up on your phone, and there are five tubs and cans in front of you that all claim to fix wood rot. One’s a clear liquid in a squat can. One’s a two-part epoxy that looks like it belongs in a garage. One says “borate” on it, whatever that means. One’s a putty knife and a tub of something the texture of cake frosting. And one is a whole kit, twice the price, promising to do all of it at once.
You don’t need all five. You probably need one, maybe two, and the trick is knowing which. The labels just don’t tell you which job each product is for, so you end up standing there with a cart, trying to guess. So let’s sort it out, the same way I’d walk it with you if we were standing there together.
What’s Actually in That “Wood Rot Repair” Aisle?
This section of the store is selling three completely different kinds of fixes: hardener, filler, and fungicide, shelved next to each other as if you’d grab any one of them for any rot problem.
- Wood hardener (consolidant): a thin liquid that soaks into soft, spongy wood and stiffens it back up.
- Epoxy filler: a two-part putty that rebuilds missing wood as a structural replacement.
- Borate (fungicide) treatment: a chemical that kills or arrests the fungus itself, clearing the way for hardener and filler to rebuild what the rot destroyed.
- All-in-one kits: a bundle of two or more of the above, sold together at a markup for convenience.
Notice that only one of those four actually addresses the fungus. The other three are about rebuilding or reinforcing wood that’s already damaged. That distinction is the whole key to this aisle, and it’s the part most packaging doesn’t spell out. If you’re not sure the damage in front of you is even fungal, the guide to dry rot repair covers how to confirm what you’re dealing with before you buy anything.
What Does a Wood Hardener (Consolidant) Actually Do?
Picture the rotted wood under your fingertip. Press it and it gives, a little damp, a little corky. That’s because the fungus has broken down the cellulose that used to give the wood its rigidity. The fibers are basically still there, they’re just gone soft, like a sponge instead of a plank.
A wood hardener, sometimes called a consolidant, is a thin resin in a solvent carrier. You brush or drip it onto the soft wood. It soaks in deep, often deeper than you’d guess from the surface, then cures hard, gluing the loosened fibers back together from the inside.
PC Products’ PC-Petrifier and Abatron’s LiquidWood are two of the more established names here. Both work the same way: penetrate first, harden second.
Skipping this step undoes almost everything else you do afterward. Filler, whether it’s epoxy or standard putty, needs something solid underneath it to grip. If you smear filler directly over wood that’s still soft and spongy, you’ve built a hard shell over a mushy core, and that shell will crack, sink, or pop loose the first time it takes any weight or weather. Hardener is what turns that mushy core back into something filler can actually bond to, the way primer gives paint something to hold onto.
The catch with hardener is that it only works on wood that’s softened but still structurally present. If you can push a screwdriver clean through the wood, or a chunk crumbles off in your hand, there’s not enough fiber left for the resin to consolidate. At that point you’re past what a consolidant can fix, which is a good problem to flag early rather than discover after you’ve already applied it.
What’s the Difference Between Epoxy Filler and Regular Wood Putty?
I bought the wrong one of these more than once before I learned the difference, and it’s an easy mistake to make. On the shelf, epoxy filler and standard wood putty sit next to each other, but they solve different problems. Putty is built for small cosmetic gaps in wood that’s still solid, think a nail hole before paint. Epoxy is built to rebuild missing wood: it cures rigid enough to hold a screw and stands up to years of exterior moisture cycling, which putty was never formulated to survive.
Regular wood putty, the kind you’d use to fill a nail hole before painting a bookshelf, is a soft, single-part filler. It’s fine for cosmetic gaps in wood that’s otherwise sound. Plenty of the putties on that shelf fall into this same category: soft, single-part fillers built for indoor, low-stress patching. It’s not designed to replace missing structural wood, and it’s not built to handle the moisture cycling and temperature swings of an exterior windowsill, deck rail, or porch column.
Two-part epoxy filler is a different animal. You mix a resin and a hardener together, usually in a roughly equal ratio, and you get a short working window, often 20 to 30 minutes depending on the product and the weather, before it starts to set. Abatron’s WoodEpox is one of the well-known names here, alongside PC Products’ PC-Woody. Once cured, epoxy filler chemically bonds to the wood around it, especially once you’ve hardened that surrounding wood first. It flexes and moves with the timber through humidity and temperature changes instead of staying rigid and cracking away from it.
The trade-off is exactly what you’d guess: epoxy costs more, takes more prep, and isn’t something you casually squeeze from a tube while standing on a ladder. For a small interior gap that’s never going to see weather or weight, putty is genuinely fine, no need to reach for the two-part stuff. But for anything outside, anything load-bearing, or any hole bigger than a nail head, epoxy is the one that actually holds. If you want a closer look at brand-by-brand differences, that’s really its own conversation, and the fuller breakdown on wood rot repair epoxy covers it better than I can cram in here.
Do You Need a Borate or Fungicide Treatment Too?
Hardener stiffens what’s left of the wood. Filler rebuilds the volume that’s missing. Borate is the only product on this shelf that actually kills the fungus causing the rot. If that fungus is still alive in the timber around your repair, and it very often still is, filling over it just gives it a nicer place to keep growing, out of sight.
Borate treatments, based on sodium borate, are applied to bare wood as a liquid, spray, or sometimes as fused rods or pastes pushed into drilled holes for deeper penetration into thicker timber. Borates are toxic to wood-decaying fungi and to insects like termites that go after damaged wood, so treat it like the pesticide it is: gloves on, good ventilation, and kids and pets clear of the area until it’s dried. They’ve been used in construction and preservation for this exact purpose for a long time. Some builders also treat replacement lumber with borate before it goes into a repair, as a preventive step against future decay.
Whether you need this step depends on what you’re dealing with. Surface graying from old weather exposure, with no soft spots? That probably just needs cleaning and a good sealant, no fungicide required. Active soft, crumbly, or discolored decay, especially anywhere damp or shaded, almost certainly has live fungus present, and that’s a borate-treatment situation before hardener ever touches the wood. If you’re not sure whether what you’re looking at is even fungal decay versus something else entirely, the deeper look at dry rot treatment goes into confirming and arresting the organism, which is worth reading before you commit to a product.
Are All-in-One Wood Rot Repair Kits Worth Buying?
All-in-one kits bundle a hardener, a filler, and sometimes a small treatment component into one box, usually with mixing trays, applicators, and instructions included. They’re marketed as the no-guesswork option, and for a specific kind of project, they genuinely are.
Here’s who a kit actually suits: a single, contained repair, a rotted spot on a windowsill, a porch rail, a small area of trim, where you’re not sure how much of each product you’ll need and you’d rather not guess wrong twice. A kit like this usually costs a bit more than buying a small hardener can and a tub of epoxy separately, but you’re paying for correctly matched ratios and one trip to the store instead of three, plus you’re not standing in the aisle doing math on how many ounces of hardener a windowsill actually needs.
Here’s who a kit doesn’t suit as well: bigger jobs, or repeat jobs. If you’ve got rot in three different spots around the house, or you know you’ll be doing this kind of repair again, buying hardener and epoxy separately, in the container sizes you actually need, is almost always cheaper per repair, and you’re not stuck with a kit’s fixed, sometimes-too-small quantities of each part. It’s worth checking what’s inside the specific kit you’re eyeing, since “kit” can mean anything from a genuinely useful hardener-plus-epoxy pairing to little more than a tub of putty with a fancier label. For a rundown of what to look for, the guide to wood rot repair kits gets into that comparison directly.
How Do You Match the Product to How Bad the Rot Is?
This is the part that saves you money and a wasted afternoon, because the products aren’t interchangeable and the wrong one for the severity in front of you just won’t hold.
- Surface softness, wood still mostly intact: press a screwdriver in and it dents but doesn’t sink far. This is hardener territory, sometimes followed by a thin skim of filler for cosmetic evenness.
- Soft and spongy, screwdriver sinks in easily: hardener first to consolidate what’s left, then epoxy filler to rebuild the missing volume once the hardener has cured.
- Crumbling, chunks coming away, visible hollow pockets: this is past what surface hardener alone can save. You’re likely digging out the worst of it, treating with borate, and rebuilding a real void with epoxy, possibly reinforced with fiberglass mesh or a wood splice for anything load-bearing.
- Structural, a joist, sill plate, or post that flexes, deflects, or has lost a meaningful cross-section of its width: this is where products stop being enough. No filler or hardener restores load-bearing capacity to a beam that’s lost a third of its material. That calls for a real replacement, ideally with a contractor looking at it, not a weekend patch job.
That last line matters more than any product recommendation in this whole piece. Epoxy is strong, but it’s not lumber, and it’s not rated to carry structural loads the way the original solid wood was. If you’re staring at something that makes you wonder whether repair is even realistic anymore, the piece on whether dry rot can be fixed walks through exactly that judgment call, and it’s worth reading before you spend an afternoon on a repair that a contractor would tell you not to attempt.
What’s the Right Order to Use These Products In?
I’ve used these products out of order myself and watched a repair fail because of it. The order that actually works, and the reason each step has to come before the next one, looks like this:
- Treat. If there’s active fungus, address it with a borate treatment on bare, exposed wood before anything else goes on. Sealing live fungus under hardener or filler doesn’t stop it.
- Harden. Once any treatment has dried per the label, apply consolidant to soft wood, working past the point where the surface stops absorbing it. This is the step people skip most, and it’s the one that determines whether the filler over it lasts a season or five years.
- Fill. Once the hardener has fully cured, hard, not tacky, apply epoxy filler to rebuild missing shape and volume, overfilling slightly since you’ll be sanding it back.
- Seal. Once the filler is cured and sanded, prime and paint, or apply an exterior wood sealant, over the whole repair and a bit of the surrounding sound wood too. This is what actually keeps new moisture from starting the cycle over again, which is the entire reason the original wood rotted in the first place.
Skip that sealing step and you’ve basically reset the clock. Bare, unsealed repair wood absorbs water just as readily as any other exposed timber, and if you want a fuller sense of what keeps moisture out for good, how to prevent dry rot covers the maintenance side of that once your repair is done and dry.
What Are the Most Common Mistakes People Make With These Products?
I’ve watched (and, honestly, made) most of these myself, so consider this the list of things I’d tell a friend before they start.
- Skipping hardener and going straight to filler. It looks fine for a few months, then the filler pops loose because there was nothing solid underneath it to grip.
- Filling over wood that’s still soft. Hardener needs time to cure fully, often 24 hours or more depending on temperature and how deep it penetrated. Rushing this step is the second most common reason repairs fail early.
- Skipping the fungicide step entirely. If the fungus is still alive, it doesn’t care that you patched over it. It keeps eating, and eventually the new damage shows up right at the edge of your repair.
- Reaching for automotive body filler. Some people grab Bondo out of the garage because it’s already on hand and cures fast. It can technically adhere to wood, but it wasn’t engineered for wood’s moisture movement the way purpose-built wood epoxy was, and results are inconsistent. If you’re curious how that comparison actually shakes out, wood rot repair with Bondo gets its own honest look.
- Never sealing the finished repair. All that careful work, treating, hardening, filling, sanding it smooth, and then it sits there bare through a rainy season. Paint or sealant is what actually keeps the whole repair alive for years instead of one season.
- Buying a kit (or three separate products) for damage that’s actually past repair. No amount of product fixes a joist that’s lost its structural integrity. That’s a call-a-contractor situation, full stop, no amount of extra epoxy changes that.
If you take away just one thing from all of this, the sequence is what actually matters: figure out how bad it is, treat the fungus if it’s active, harden before you fill, and seal when you’re done. Get those four steps right and a $12 can of hardener works about as well as anything pricier on the shelf. So pick up a can of hardener this weekend, start with the spot that’s bothering you most, and let the rest of the list wait until you’ve got that one done.