How to Prevent Dry Rot: A Realistic Moisture Patrol for Your Home
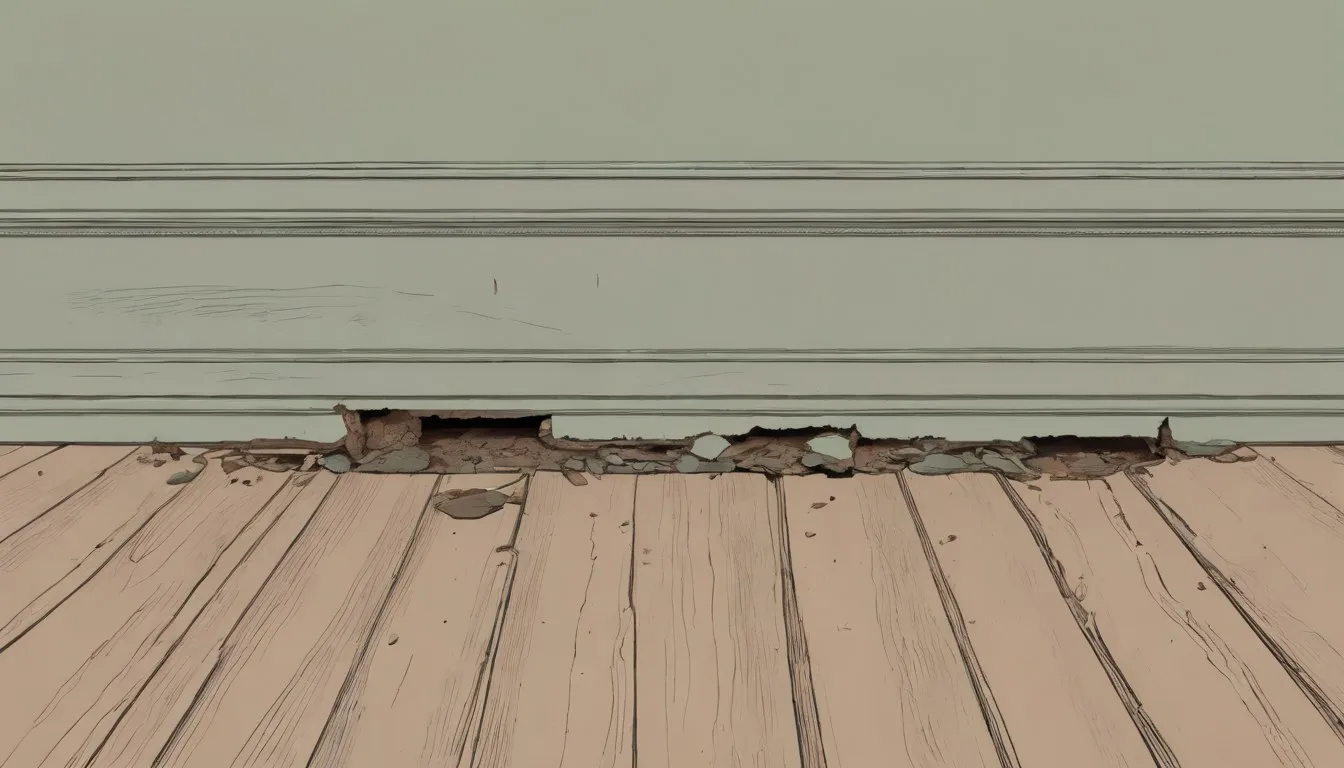
There’s a damp patch behind the bookshelf in the spare room that nobody looks at because, well, there’s a bookshelf in front of it. There’s a smell in the crawl space that you’ve decided is just “what crawl spaces smell like.” There’s a windowsill in the kids’ bathroom that’s gone soft enough to leave a thumbprint if you press it. Dry rot starts in exactly the spots you’ve stopped looking at, the ones behind furniture, under floors, and in rooms nobody checks twice a year.
Dry rot doesn’t announce itself. It needs one specific condition to get going: timber sitting above roughly 20% moisture content for weeks on end. That’s the whole trigger. The spores that cause it are already floating through your house right now, they’re basically everywhere, and below that moisture threshold they just sit there, doing nothing at all. Keep the wood drier than that and they stay dormant indefinitely. Let it sit wet for weeks, though, and they wake up and start feeding on the wood’s structure from the inside out.
So prevention comes down to one job: keep the timber dry. Do that and you never have to think about dry rot again. If you want the full picture of what the damage actually looks like once it’s underway, what is dry rot covers the visible signs in detail. Here, we’re staying upstream of all that: a realistic, room-by-room way to make sure your wood never gets wet enough, long enough, to matter.
Why does dry rot even start in the first place?
Wood is not naturally vulnerable to rot. Most framing and trim starts life as kiln-dried lumber, dry enough that fungus has nothing to work with. The trouble starts when something keeps adding moisture faster than the wood can dry back out: a slow roof leak, a crawl space with no vapor barrier, a bathroom fan nobody turns on, a downspout dumping water two inches from the foundation.
Give any of those a few weeks to a few months, and you’ve built exactly the environment the fungus needs. A leak behind a washing machine that nobody notices over a rainy autumn is plenty. So is a crawl space vent that’s been blocked since last winter. Once it takes hold, the fungus sends out root-like strands, called hyphae, that can actually travel through masonry and plaster hunting for more wood to colonize. Those strands are what give dry rot its reputation for spreading in ways that feel sneaky: it’s chasing moisture through the walls the same way you’d wander toward the kitchen if you hadn’t eaten in a while.
That’s the mental shift that makes prevention manageable. Managing dry rot is really just managing water, room by room, season by season. Every tip in this piece comes back to that one idea.
What’s your home’s actual moisture risk map?
Every house has a handful of spots doing most of the work of letting water in or trapping it once it’s there. Worth walking through your own place with this list in hand, worst offenders first.
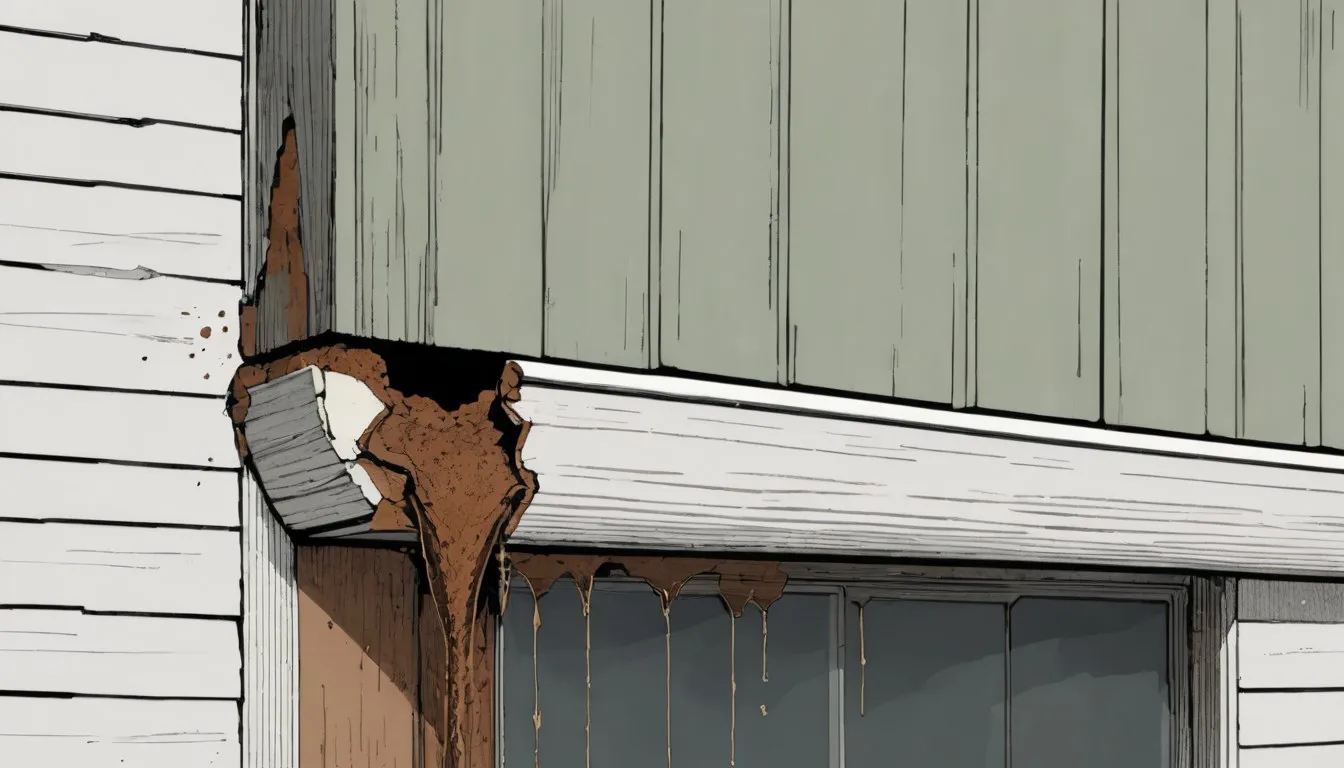
- Gutters and downspouts. A clogged gutter overflows right down the side of the house, soaking fascia boards and siding every time it rains. This is the single most common source of the kind of slow, repeated wetting that leads to rot.
- Roof flashing. Around chimneys, skylights, and where a roof meets a wall, flashing is doing the actual waterproofing. When it’s cracked or lifted, water gets behind it and into the framing, often for months before it shows up as a stain on a ceiling.
- Rising damp with no damp proof course. Older homes especially may lack a proper damp proof course (DPC), the physical barrier, usually a membrane or slate layer, that stops groundwater from wicking up through masonry into wall timbers. Without one, or with one that’s been bridged by a flower bed piled too high against the wall, moisture climbs steadily upward.
- Poorly ventilated bathrooms. Every hot shower puts a surprising amount of water vapor into the air, and if it has nowhere to go, it condenses on the coldest surfaces in the room, often window frames and sills.
- Wood touching soil or concrete. Fence posts, deck ledgers, shed frames, porch steps: any wood in direct contact with the ground or a concrete slab pulls moisture up steadily, no rain required.
You probably already know which of these apply to your house. Most people do, they’ve just never connected it to the word “rot.”
How do you check timber moisture before it becomes a problem?
You don’t have to guess. A basic pin-type moisture meter runs somewhere around $25 to $40, and it takes the guesswork completely out of this. You press two small pins into the wood and it gives you a percentage reading right there.
I was skeptical a $30 gadget from a hardware store would tell me anything a shrug and a squint couldn’t, until it flagged a windowsill behind my own washing machine sitting at 22% three checks running. It’s a cheap tool that turns a vague worry into an actual number.
Twice a year is plenty for most homes, spring and fall works well since it brackets both the wet and dry seasons. Focus on the spots from your risk map:
- Window sills and frames, especially any that feel cold or show peeling paint
- Sub-floor joists near plumbing, exterior walls, or crawl space vents
- Shed and deck framing where wood meets the ground
- Any wood near a roof leak you’ve already patched, just to confirm it actually dried out
As a rough guide: readings under 16% are comfortable, 16-20% is worth watching and rechecking in a few weeks, and anything consistently above 20% is your cue to find the water source and fix it before it becomes a bigger job. Check the same spot every season and watch the trend. A reading that climbs from 14% in spring to 21% by fall means water is getting in somewhere, and that’s worth acting on.
Is your ventilation actually working, or just there?
This is the category of fix that costs nothing and gets skipped constantly, mostly because the vents and fans are already technically installed. A blocked airbrick or a fan that gets switched off too soon does exactly nothing for you, no matter what’s printed on the box it came in.
Airbricks, the small vented bricks along a home’s foundation that let air circulate under suspended floors, get blocked more often than people realize. Mulch piles up against them. A new patio gets laid a little too close. Snow drifts. Once airflow stops, moisture from the ground has nowhere to go, and it just sits under your floor. Walk the outside of your house once a season and make sure every airbrick and crawl space vent is actually clear.
Extractor fans are the indoor version of the same problem. A bathroom fan that gets switched off the second you step out of the shower hasn’t done its job. It needs to run for a good 15 to 20 minutes afterward to pull the humidity out of the air, well after the visible steam has cleared. If yours is loud or feels like an afterthought, running it longer costs you nothing but a little patience, and setting it on a timer switch means you never have to remember.
And the low-tech version that works surprisingly well: crack a window when you shower, especially in an older bathroom with minimal ventilation. It’s not elegant, but airflow beats trapped humidity every time, and it’s the difference between condensation drying off a windowsill in an hour versus it sitting there all day feeding a slow, invisible problem.
What outdoor maintenance actually keeps water away from your timber?
Here’s the reassuring part: you’re probably already doing half of this without thinking of it as dry rot prevention.
- Clear gutters twice a year, once in fall after leaves drop and once in late winter or early spring. This alone prevents the most common cause of chronic timber wetting.
- Check that downspouts discharge well away from the foundation, ideally four to six feet, using an extension if needed. Water dumped right at the base of the house just seeps back toward the wood framing above it.
- Make sure the ground slopes away from your house, not toward it. If you’ve got a spot where rain pools near the foundation after a storm, that’s worth regrading before it becomes a rot problem rather than after.
- Keep soil, mulch, and plants off any wood siding or sills. A flower bed built up against wood cladding looks nice and holds moisture against the wood constantly. A few inches of clearance is enough to fix it.
This is the actual work of keeping a house dry, and it’s mostly stuff you can knock out in an afternoon with a ladder and a pair of gloves. If you’ve got a teenager or a partner looking for a way to help, gutter clearing and grading checks are exactly the kind of job you can hand off with a five-minute explanation.
Everything above assumes timber with a roof over it. Fences, decks, and shed frames take the weather with nothing in the way, and how to prevent wood from rotting out there is its own conversation.
Should you treat or seal exposed timber, and how often?
If you’ve got exposed wood, you’re on the hook for preservative or a fresh coat of paint or sealant every so often, same as gutter clearing. Budget a Saturday afternoon and maybe $40 in stain or sealant, and you can absolutely do it yourself with a brush and a ladder. Each coat buys the wood a few years of shedding water before it soaks in, and then it needs doing again.
For fully exposed wood, fences, deck framing, shed siding, plan on reapplying a water-repellent preservative every one to three years depending on your climate and how much direct weather that wood takes. Painted or sealed trim and siding generally holds up longer, often five years or more, but it’s worth inspecting annually for cracking, peeling, or spots where the finish has worn through, since those failure points are exactly where water gets a foothold.
If you’re dealing with wood that’s already gone soft or spongy, sealing over it won’t help, and that’s really a different conversation than prevention. The dry rot repair guide walks through fixing wood that’s already compromised, worth a look once you’re past the point of just keeping things dry. There are also wood rot repair products made specifically for treating existing damage, and they’re worth having on your radar for the same reason.
What’s worth doing this season vs. this year?
If all of this feels like a lot, it isn’t, once you break it into a seasonal pass and a once-a-year deeper check.
The 20-minute seasonal pass (do this each time the season turns):
- Clear anything blocking airbricks or crawl space vents
- Glance at gutters for obvious clogs or sagging
- Check that the shower fan actually clears steam within 20 minutes
- Look at that one window that always sweats and wipe down any condensation
The annual deeper check:
- Clean gutters thoroughly and confirm downspouts discharge away from the foundation
- Take moisture meter readings on sills, joists, and shed or deck framing
- Inspect exterior paint, sealant, or preservative for wear and reapply where needed
- Walk the foundation line checking that grading still slopes away from the house and soil hasn’t crept up against wood siding
Dry rot and its cousin, wet rot, get lumped together a lot, but they behave differently enough that it’s worth knowing which one you’re looking at if you ever do spot damage, which is where dry rot vs wet rot comes in handy. If you’re wondering whether a patch you’ve found is already on the move, does dry rot spread walks through how that actually works.
If you only do one thing from this whole list, clear your gutters and confirm your downspouts drain away from the house. It’s the single biggest source of the chronic wetting that leads to rot, and it’s a job most people can do in under an hour without hiring anyone. Keep the water where it belongs, outside the wood, and the rest of this list is just backup you’ll rarely need.