Can Dry Rot Be Fixed, or Is It Time to Call Someone?
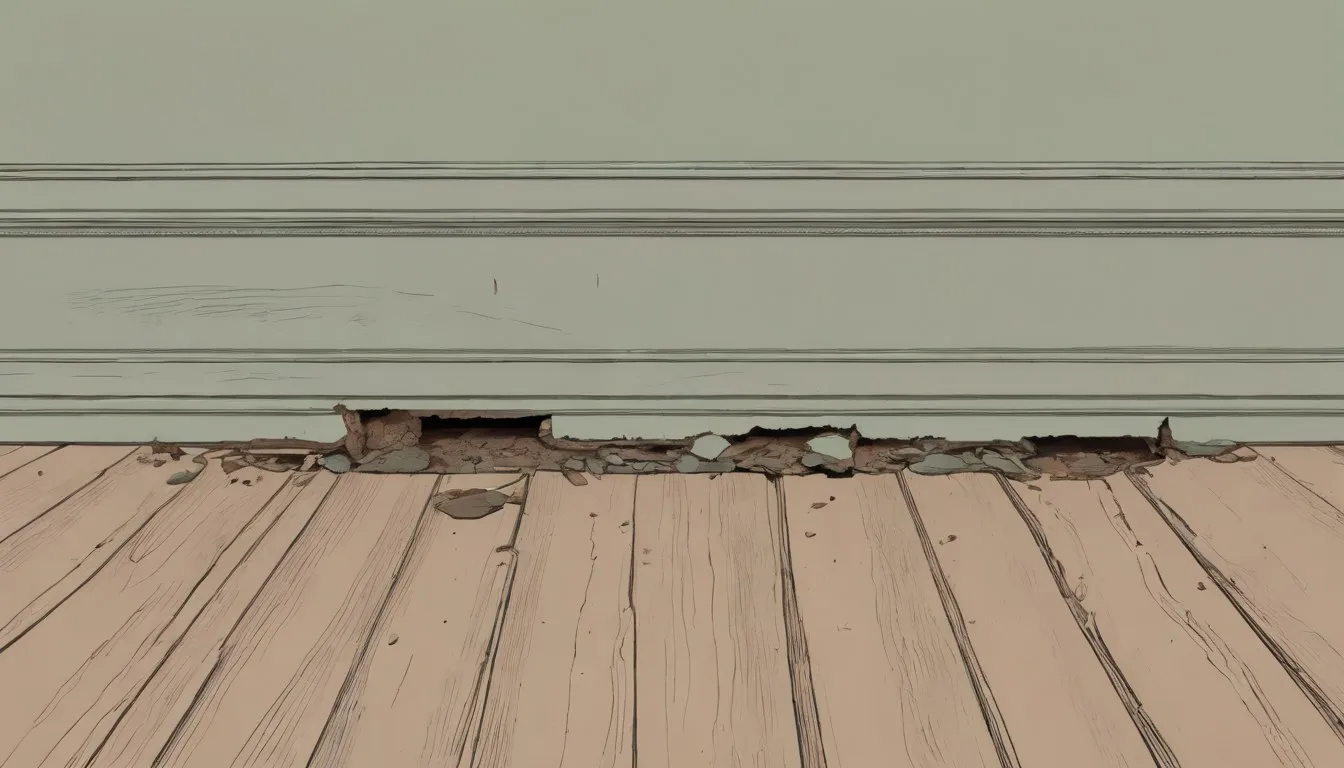
You’ve pressed a screwdriver into the skirting board and it went in like the wood was cake. Maybe there’s a faint mushroomy smell in the room, or a rusty-looking dusting on the skirting that wasn’t there last month. Now you’re standing there doing the math: is this a Saturday afternoon with a tub of filler, or the start of a very expensive conversation with a contractor?
Here’s the short version. Yes, dry rot can almost always be fixed. It’s a two-part job: you kill the fungus causing the damage, then you repair or replace the wood it already ate through. The honest caveat is that “fixed” doesn’t always mean “saved.” If the timber is a structural beam or joist that’s lost a serious chunk of its cross-section, sound engineering practice says you replace it rather than patch it, because a beam holding up your floor isn’t the place to gamble on filler. For everything short of that, and that’s most cases, this is genuinely fixable. The fungus responsible, Serpula lacrymans, is the same organism whether it’s in a Victorian skirting board or a modern joist, and it dies the same way: cut off its moisture supply and treat what it’s already damaged. If you haven’t already, it’s worth getting a clear read on what you’re actually looking at before you start pulling boards off the wall, since not every soft, dark patch of timber is dry rot. Wet rot, for instance, needs the timber to stay damp to keep spreading, and it behaves differently enough that treating it the same way as dry rot just wastes time and money.
What decides whether it’s a repair or a replacement?
How much sound wood remains underneath the damage decides the outcome, more than how alarming the patch looks on the surface. Dry rot damage isn’t uniform: the outer inch might be crumbly and worthless while the timber a few inches further in is still structurally fine. The job is figuring out where that line sits.
A few quick checks will tell you more than staring at it will:
- The screwdriver test. Push a screwdriver or awl into the wood at an angle. If it sinks in with almost no resistance and the wood crumbles rather than splinters, that section is gone. If it still holds a screw and resists the point, it’s likely salvageable, and you’ll know which within about a minute using whatever’s already in your toolbox.
- A moisture reading. A cheap pin-type moisture meter, the kind sold at most hardware stores, will tell you the timber’s moisture content. Fungal growth generally needs the wood to sit above roughly 20% moisture content; a reading in the low teens suggests the timber has dried out and any remaining fungus is dormant rather than actively spreading.
- How far the discoloration runs. Dry rot typically leaves a deep brown, cuboidal cracking pattern. Trace it past where it looks obvious. It usually travels further than the visible surface damage suggests.
- What the timber actually does. A decorative skirting board and a floor joist get treated very differently even with identical damage, because one is cosmetic and one is holding weight.
- Any fruiting bodies. A rusty-orange, pancake-shaped growth, fine white spore dust, or cotton-wool-like strands (mycelium) on the surface mean the fungus is actively fruiting, which usually points to a more advanced infestation than a first look suggests. Fruiting is the fungus reproducing rather than just feeding, and it tends to show up once an infestation has been established for a while, not in the first few weeks.
Run through those five and you’ll generally know, before you spend a single afternoon on it, whether you’re dealing with a filler job or something bigger.
Can you fix it without ripping everything out?
For timber that passes the screwdriver test, meaning it’s damaged but still structurally sound, you don’t need to tear the whole piece out and replace it. The standard approach is a wood hardener (also called a consolidant) brushed or injected into the affected area to soak in and stiffen the fibers, followed by a two-part epoxy wood filler to rebuild the lost shape once the hardener has cured. Done properly, the repaired section ends up harder than the surrounding original wood, which sounds odd until you remember epoxy doesn’t rot.
This is the same method furniture restorers and boat builders have used on rot for decades, just applied to a windowsill or a skirting board instead of a hull. A repair like this on a single windowsill or skirting board section usually spreads across a weekend, and most of that time is spent waiting for the hardener and epoxy to cure rather than actively working. If you want the actual step-by-step, from cutting back the damaged wood to shaping the cured epoxy, the full walkthrough on how to repair rotting wood without replacing it covers the process in more detail than makes sense to repeat here. The short version is that it’s a real DIY project, not a specialist trade, as long as the wood underneath still has integrity.
What happens if you just patch it and skip the rest?
This is the shortcut everyone’s tempted by, and it’s worth being blunt about why it doesn’t work. Filling a soft patch with wood filler or caulk without treating the fungus first just buries the problem under a fresh, good-looking surface.
Serpula lacrymans doesn’t need light or air to keep spreading. It can grow through plaster, behind skirting, and under paint, sending out root-like strands (mycelium) that travel across and even through masonry looking for its next meal of damp wood. Patch over an active infection and you’ve just given it a nicer-looking place to keep working. Months later the paint bubbles again, a few feet further along the wall, and you’re back where you started, except now there’s more damage and a filler job to remove first.
Fixing the wood without addressing the fungus underneath it is cosmetic surgery on a problem that’s still very much alive behind the wall.
When is it too far gone to fix?
The line to watch for is structural timber, load-bearing beams, floor joists, roof trusses, wall plates, that has lost a significant amount of its cross-section to decay. A skirting board or a door frame failing doesn’t put anyone at risk. A joist that’s lost a third of its depth to rot absolutely can, especially under repeated load over years.
If the affected timber is doing structural work and the damage looks extensive, this is the point to stop treating it as a weekend project. Get a structural engineer’s assessment before deciding whether to repair or replace, and if the affected area is large or hard to access, this is also where it makes sense to bring in dry rot repair contractors rather than working it out alone. A structural engineer’s visit to check a single joist or beam is a modest cost next to the price of getting that decision wrong, and it turns a guess into a straight answer. There’s no shame in that call. Structural timber is exactly the category where guessing wrong is expensive in ways a botched skirting board repair never is.
How long does a fix actually take to hold?
Killing the fungus itself is the fast part. Once the moisture source is cut off and any fungicidal treatment is applied, the organism stops actively growing fairly quickly. What takes real time is everything around it.
Masonry and the surrounding timber need to dry out fully before you can be confident the repair will hold, and that’s the step most people rush. A brick wall that’s been damp for months doesn’t dry out in a weekend just because you’ve stopped the leak. Depending on the wall’s thickness and how wet it got, that drying-out period can run from several weeks to a few months. A solid Victorian wall that’s sat behind a leaking gutter for a whole winter can easily take two or three months to dry back out, even after the leak itself is fixed. Skip that waiting period and seal everything back up too soon, and you’re trapping residual moisture behind the very repair you just made, which is a good way to be dealing with the same soft patch again next year.
A moisture meter earns its keep here too. Rather than guessing, you can actually check that the timber and surrounding masonry have dropped back under that roughly 20% moisture threshold before you close things up for good.
What stops it from coming back once it’s fixed?
Every dry rot outbreak traces back to the same root cause: timber that stayed wet for long enough. A leaking gutter, a failed damp-proof course, condensation in a poorly ventilated crawl space, a roof flashing that’s let water in for two winters running, even a washing machine that’s been quietly dripping behind a wall for a year. Fix the wood without fixing whatever kept it wet, and you’ve bought yourself a few years at best.
Once the repair is done, the ongoing job is moisture control: keeping gutters clear, checking for slow leaks, making sure crawl spaces and subfloor voids actually get airflow. If you want the fuller picture on keeping it from starting in the first place, how to prevent dry rot goes through the maintenance side in more depth. But the short version is worth remembering on its own: dry rot is a moisture problem wearing a wood-damage costume. Solve the moisture, and the wood mostly takes care of itself.
So can dry rot be fixed? Almost always, yes. It just takes doing both halves of the job, the fungus and the wood, and being honest with yourself about which side of the screwdriver test you’re actually standing on before you decide how big a project this is. If you take away only one thing, let it be this: pick up a screwdriver and a moisture meter before you pick up a paintbrush.